Jodo Link – as a fundamental service, generates distinct links (URLs) for each user. Customers can easily connect with the desired individual by simply clicking on the link. An organization can subscribe to a single account – this serves as the administrator account. The administrator is authorized to invite and create multiple users.
The organization’s profile and other standard features will be configured by the administrator while each user can individually setup their personal profile.
Subscribing Jodo Link service :
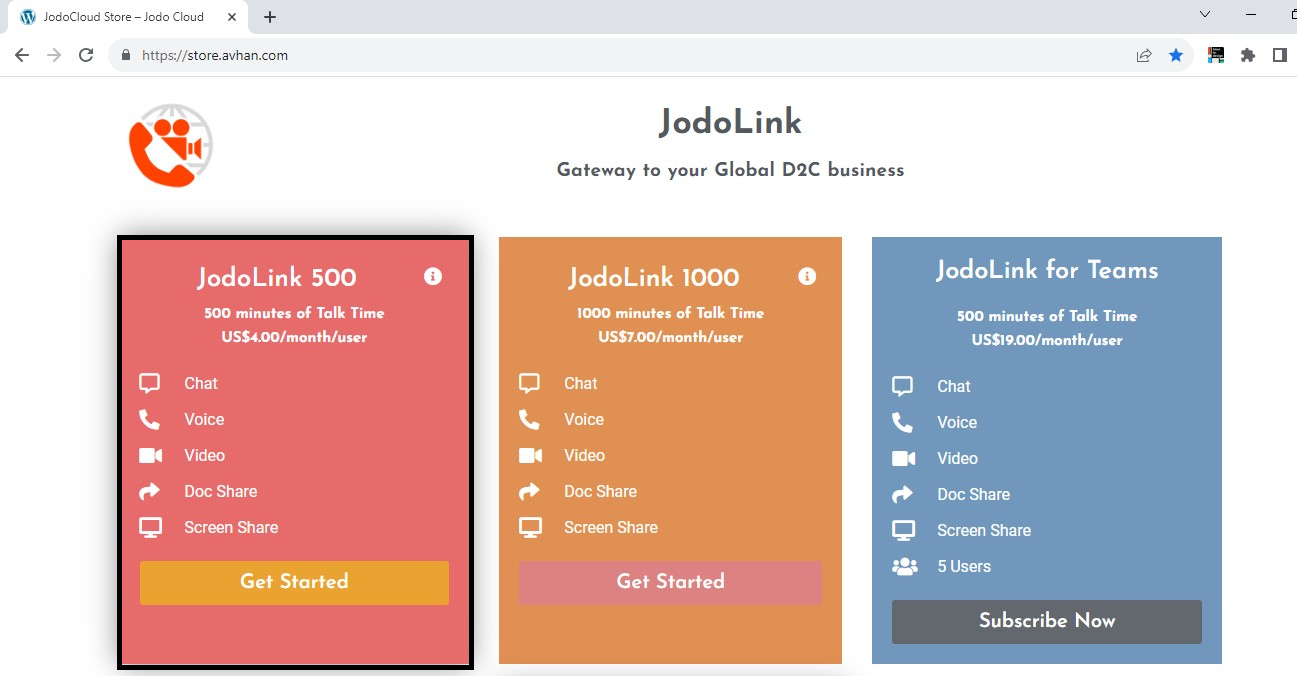
Jodo Store link :
https://store.avhan.com is our online store where a customer can subscribe to Jodo Services. Click on Get Started to subscribe to our link service.
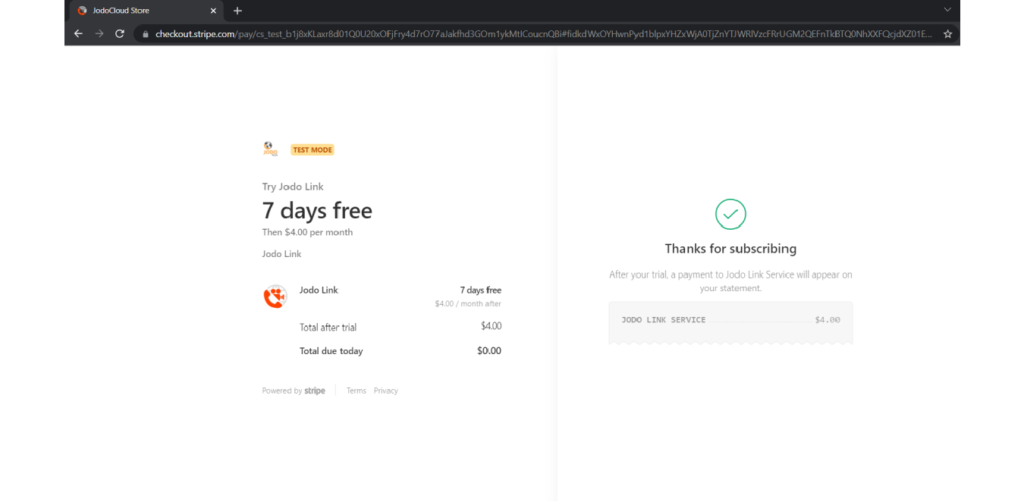
You are entitled to a 7 days free trial and your subscription will begin at the end of the free trial.
To get started, kindly provide your payment information and click the “Start Trial” button.
Jodo Link Toolbar :
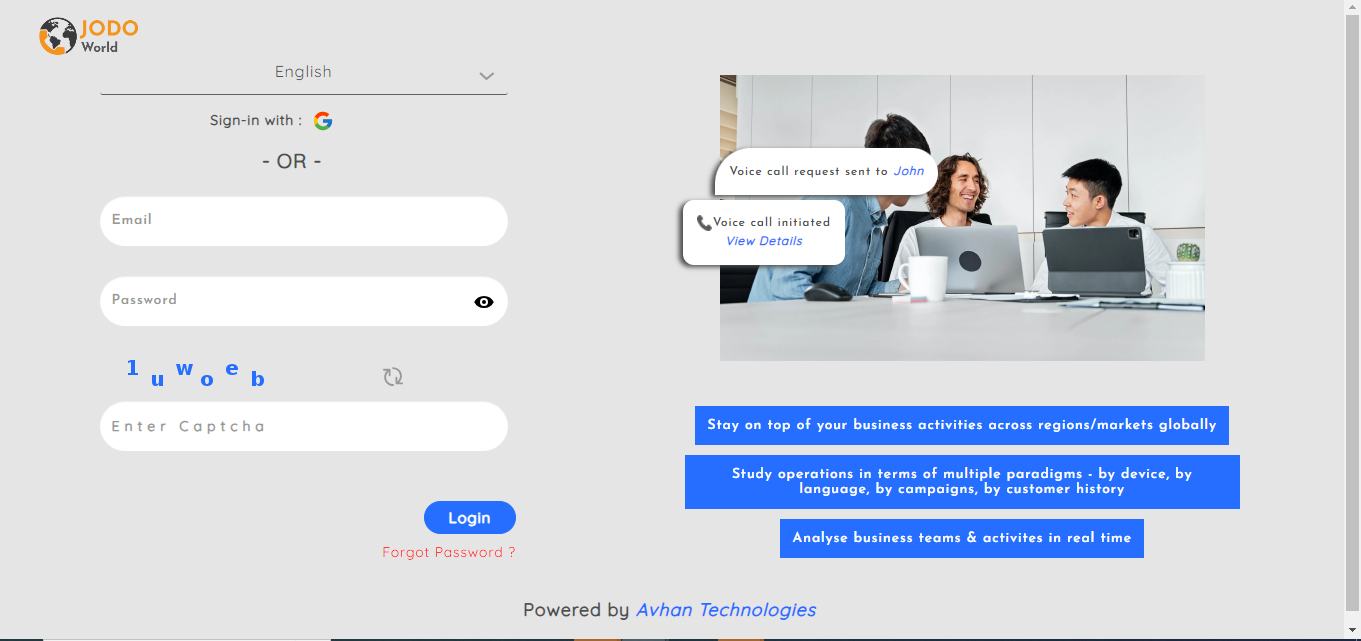
To access the login page for the Jodo toolbar, click on the URL provided in the email you’ve received.
On this page, you’ll need to enter your login credentials along with the captcha to log in. You can select your preferred language for the login process.
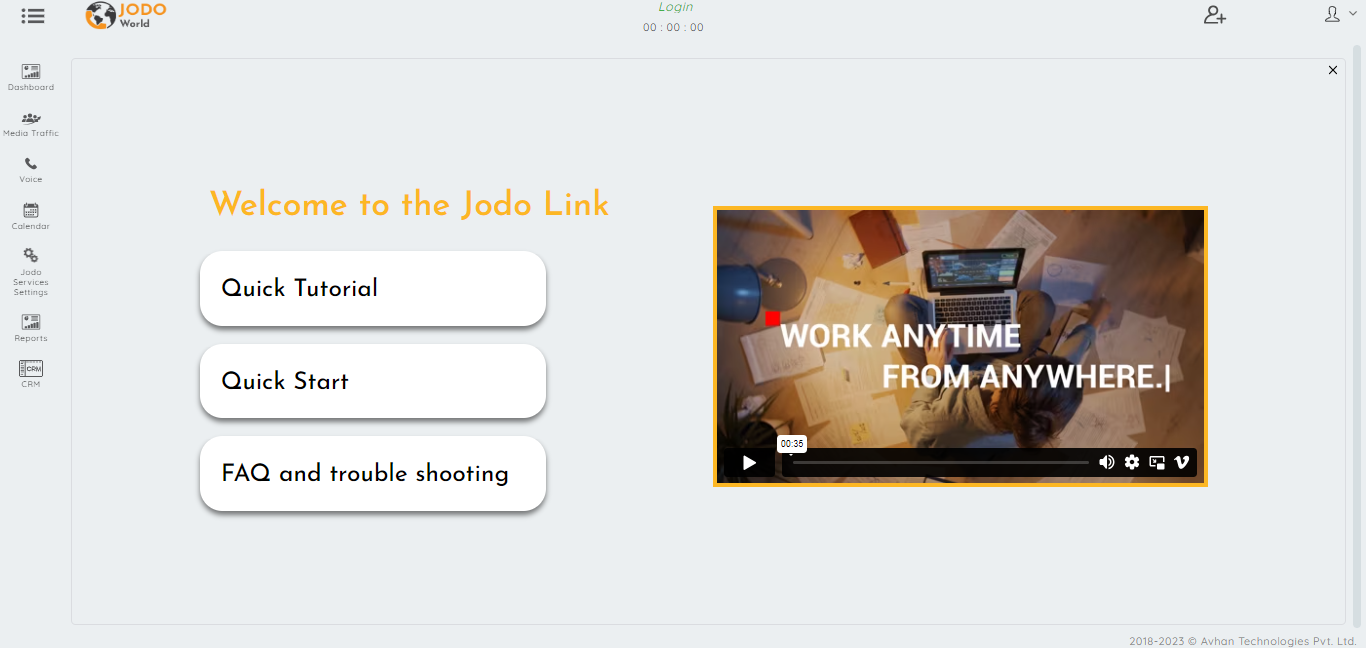
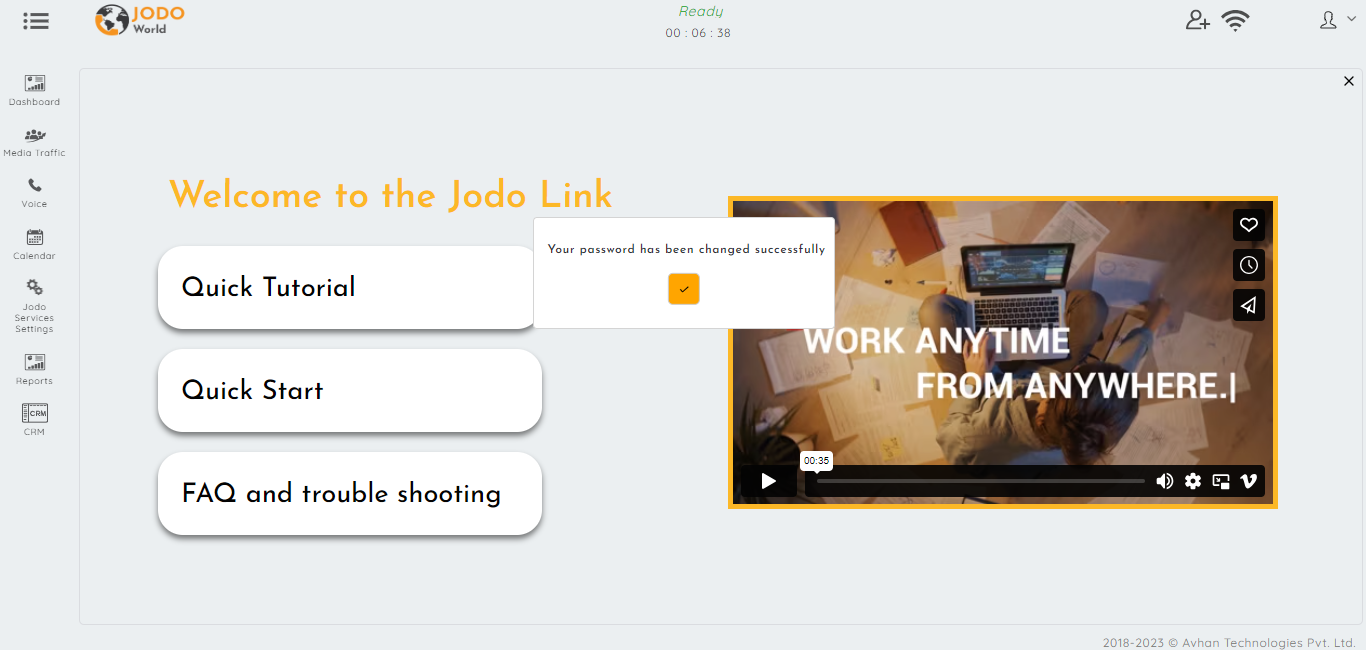
Jodo Toolbar Welcome Page :
After a successful login, you’ll be directed to this page.
This welcome page offers access to comprehensive Jodo Link documentation through buttons located below, including Quick Tutorial, Quick Start, FAQs, and Troubleshooting.
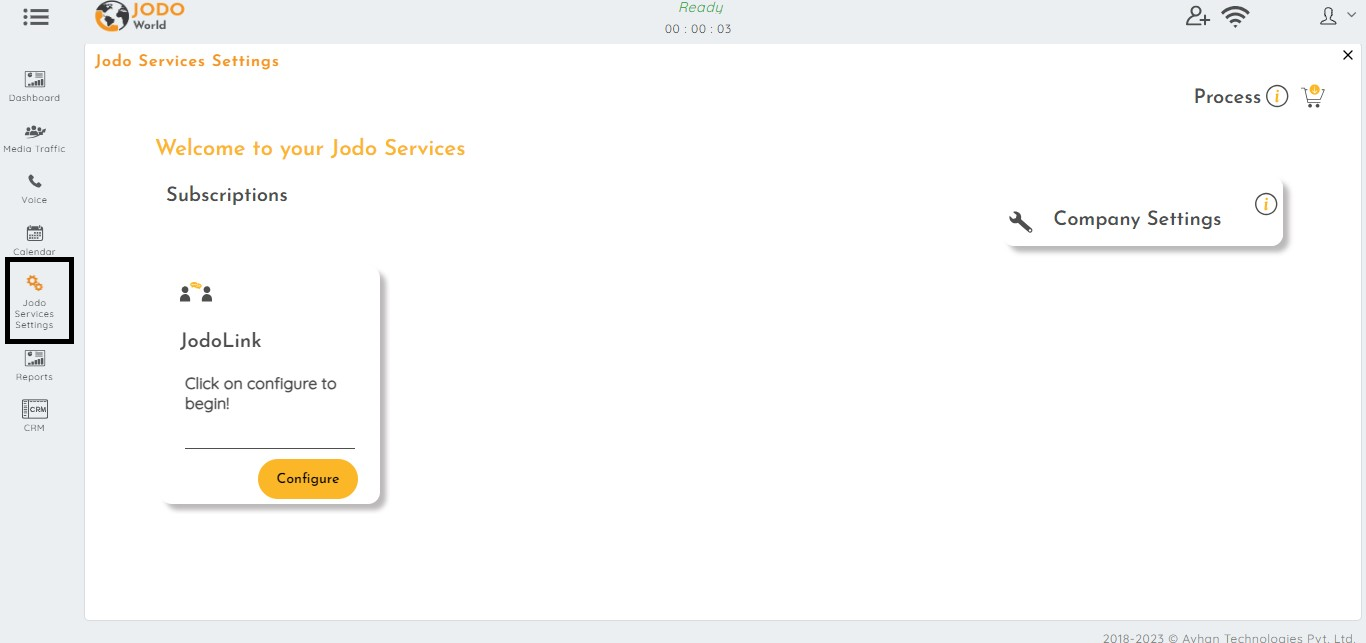
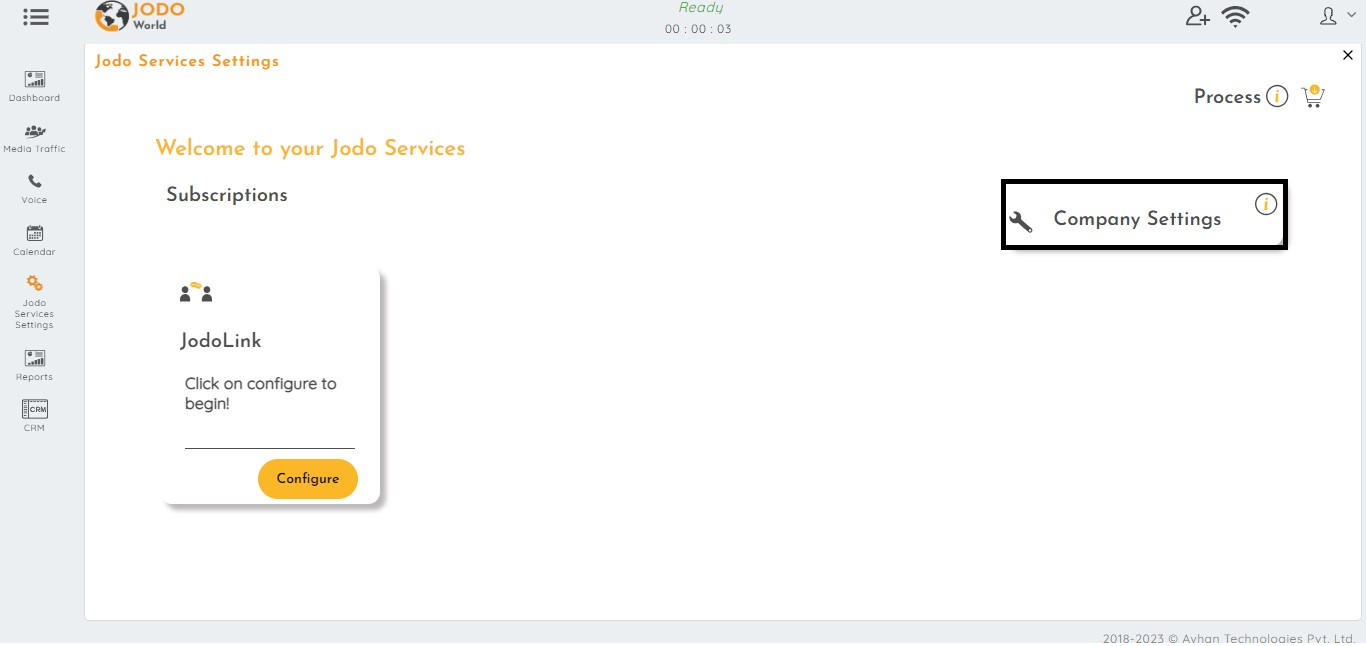
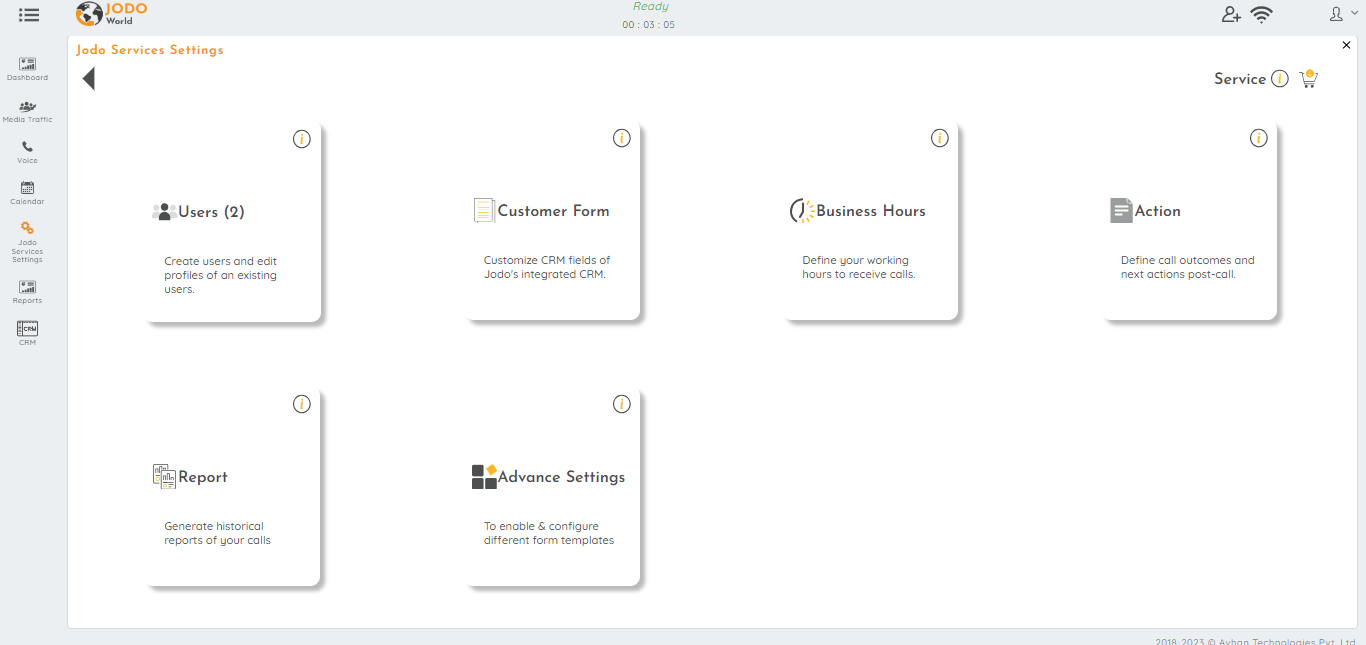
Configure Jodo Services Settings :
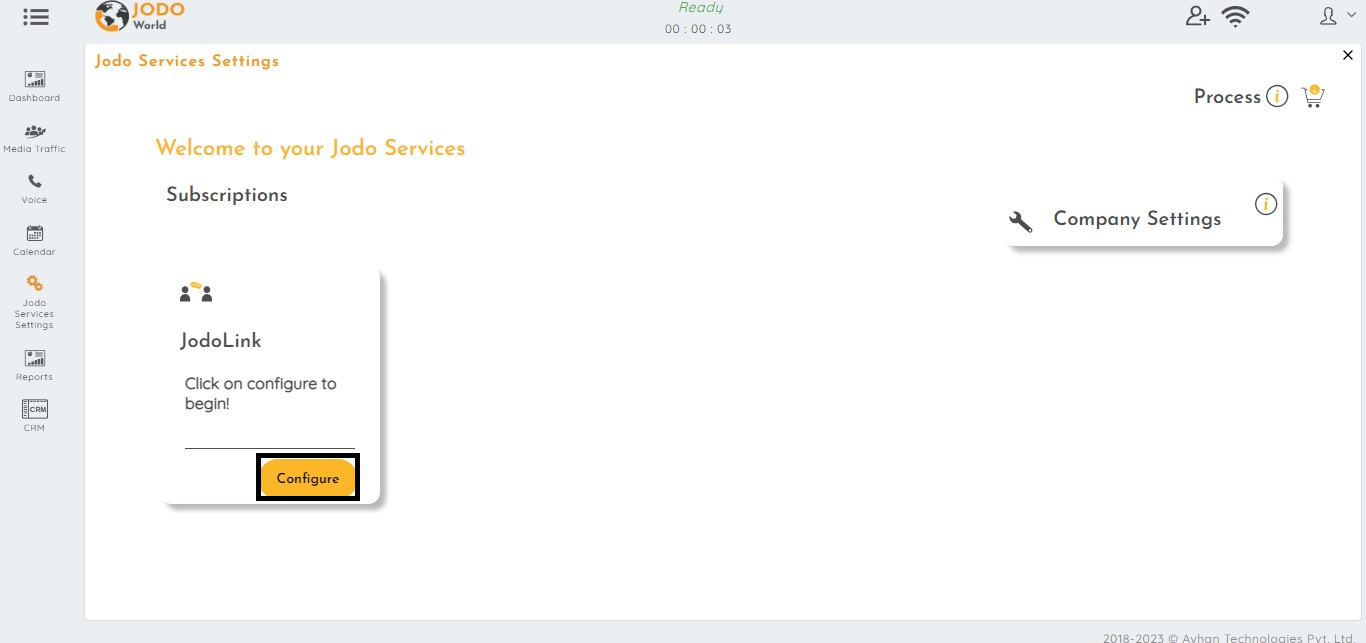
Click on the Jodo Service tab from the left-hand side toolbar. You may start configuring your Jodo Services from the configure tab as shown in the picture below.
Edit company settings :
Here you can see how to update / set the details of your company in your profile.
You can set up the company profile in the Company Settings. Any changes to the information can be made using the Edit Company settings button (shown in the pic below).
Clicking on the company setting will take you to below screen.
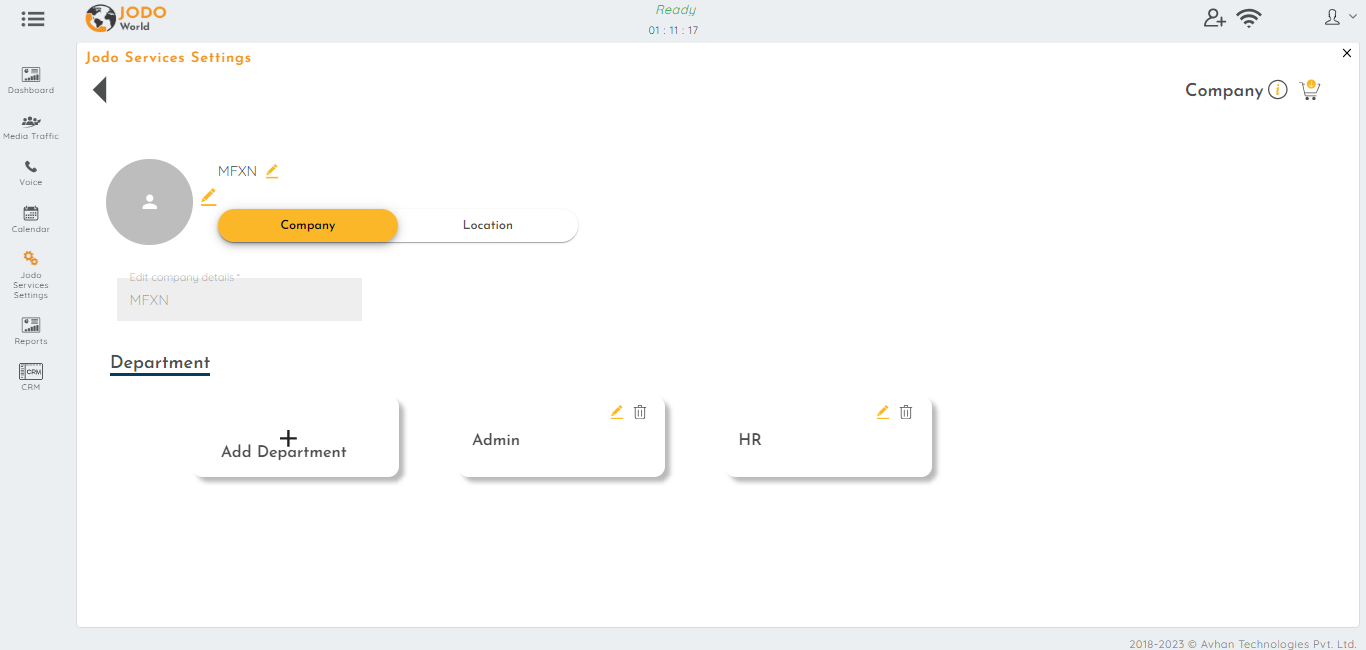
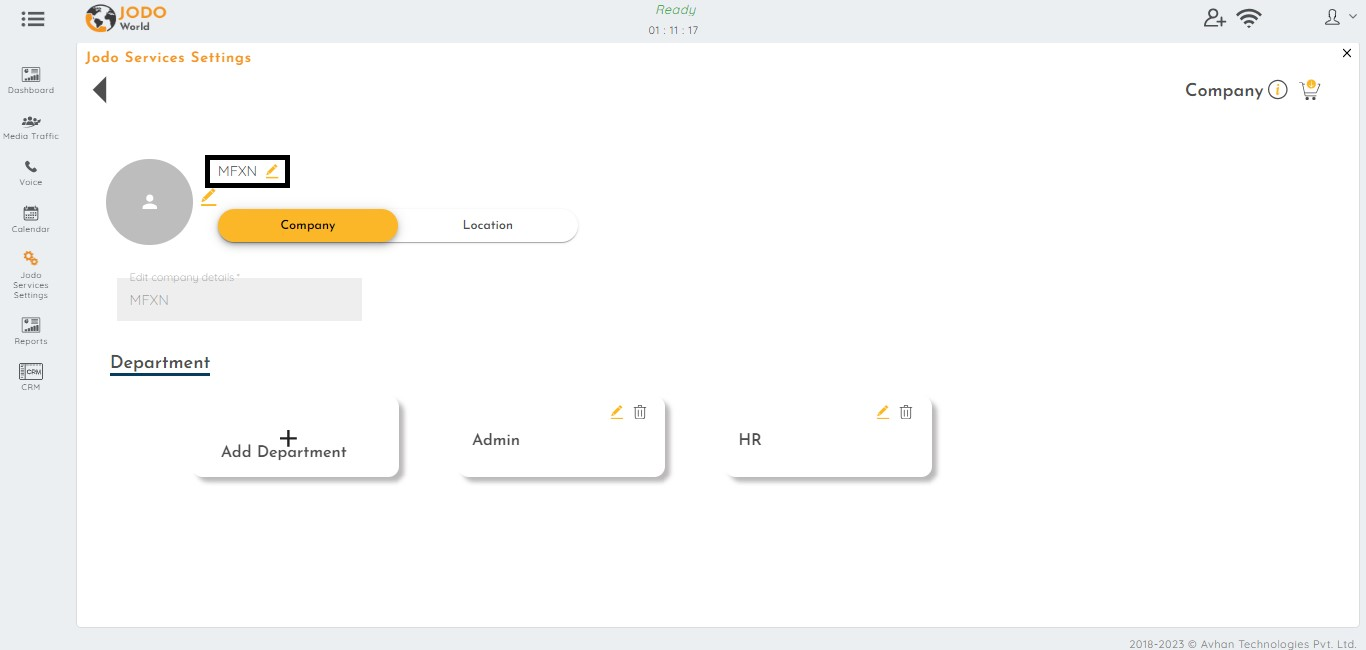
You can now set your company logo using the edit function in the logo tab. This logo will also appear on your Jodo Link page.
Besides the logo, you can add your company name.
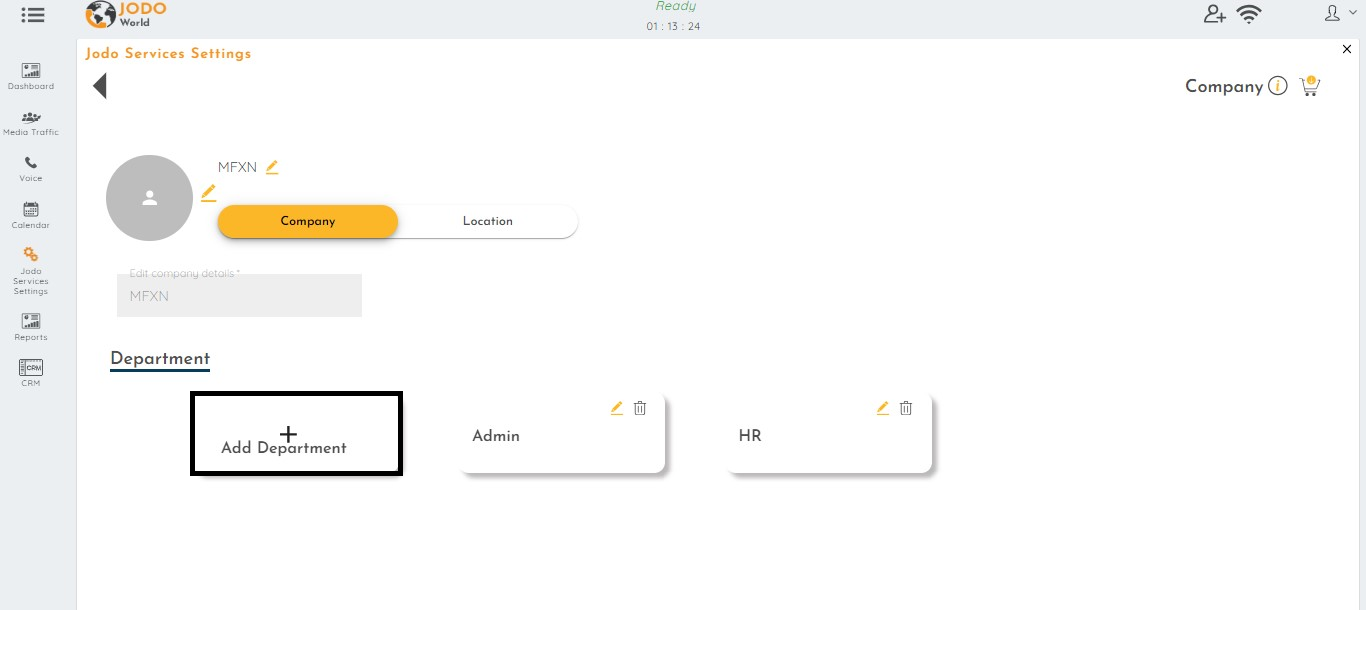
Some department names are available by default. You can add many more. To include a new department name, simply select the “Add Department” tab below if your department isn’t already listed.
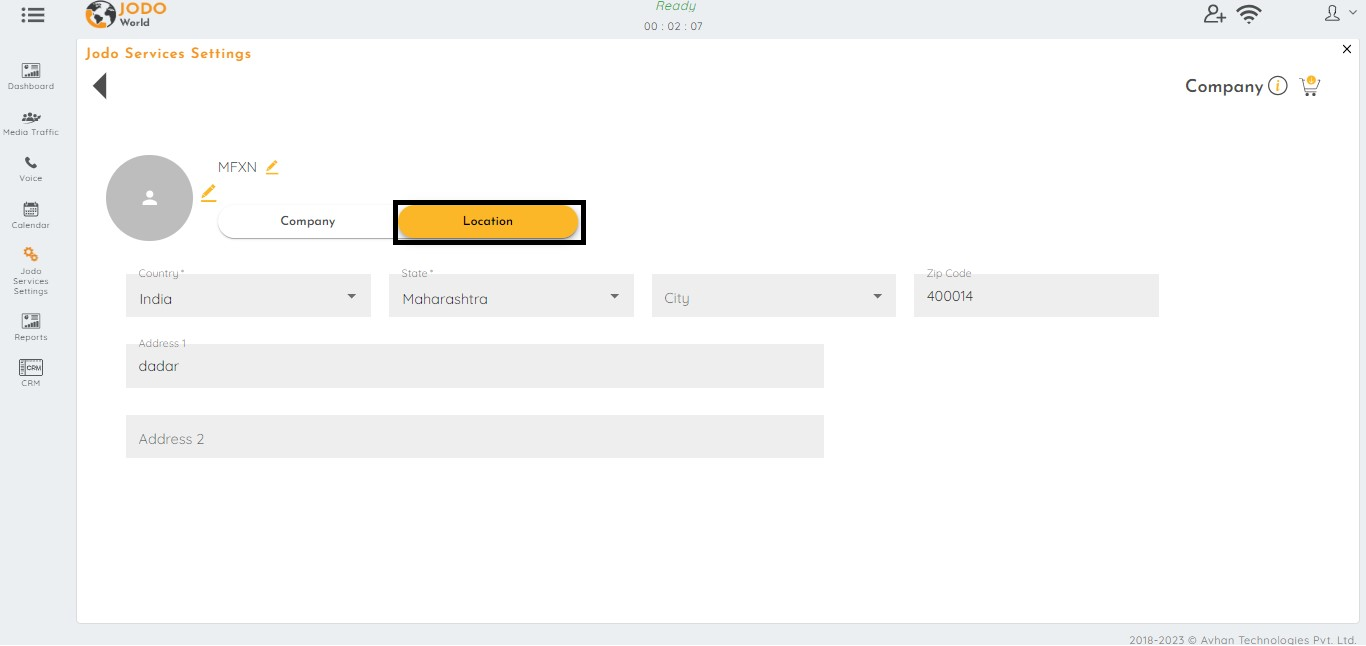
To update your company address, click on the “Location” tab as shown in the below image.
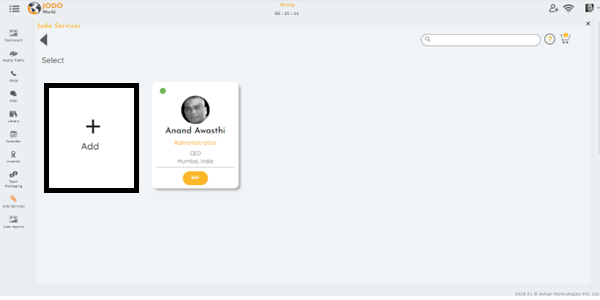
Configure User :
Click on configure button to begin configuring your Jodo Link account.
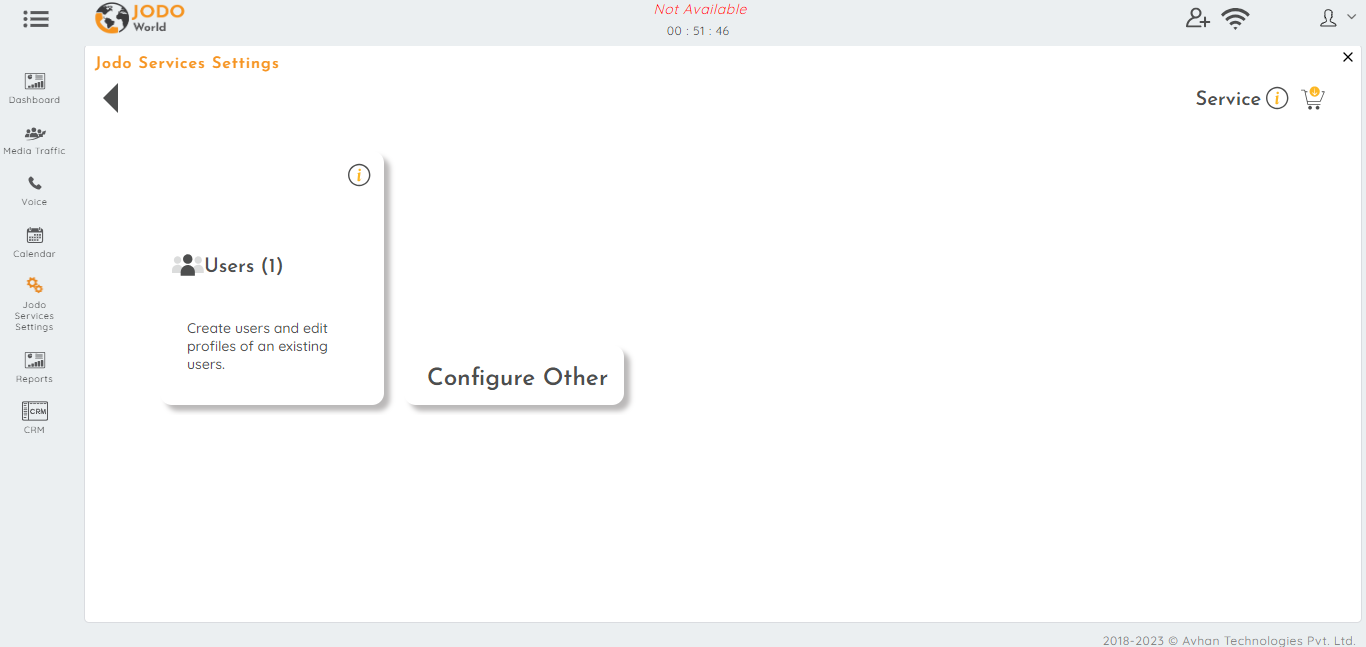
Then the following window will be displayed,
You can configure your user profile from the ” Users >>Edit Users ” tab.
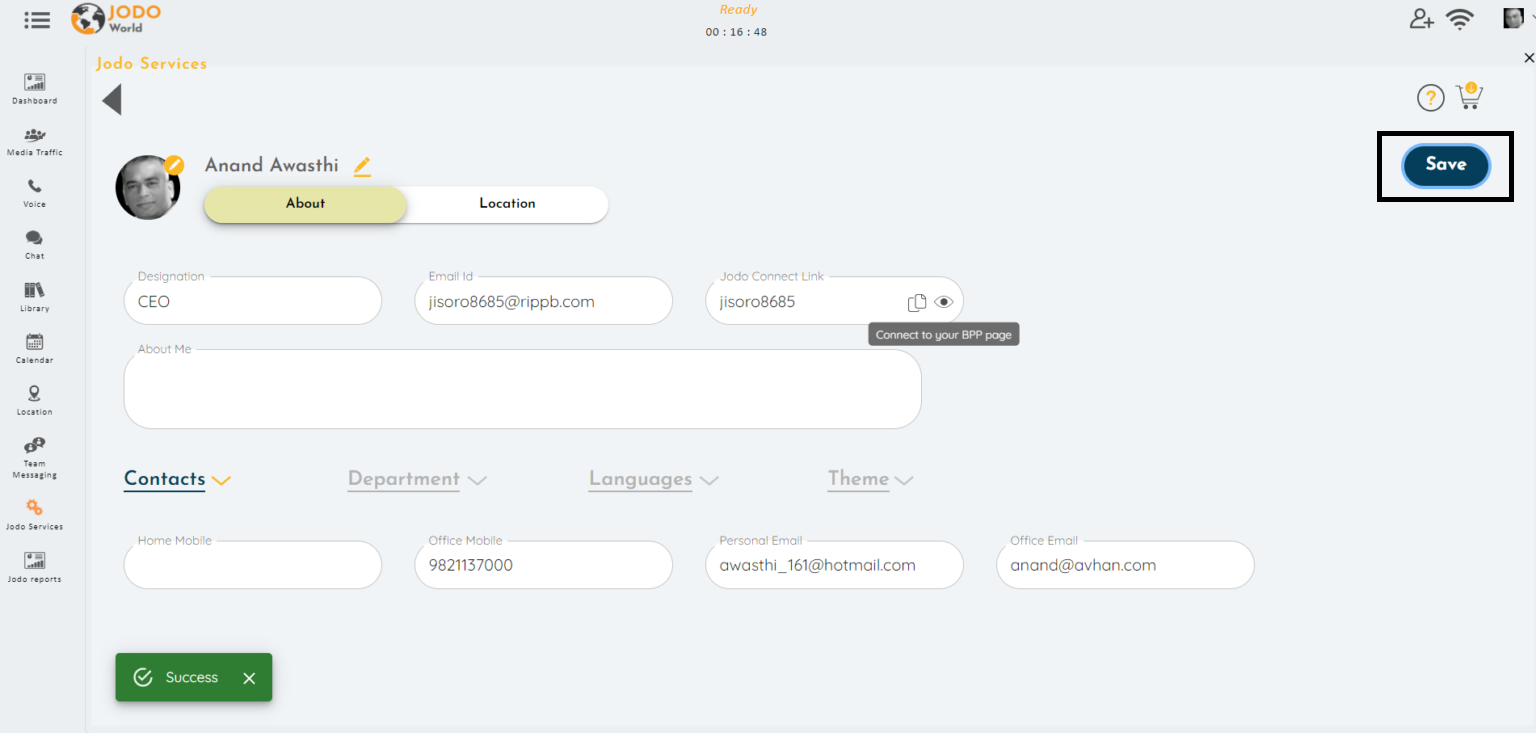
Edit user :
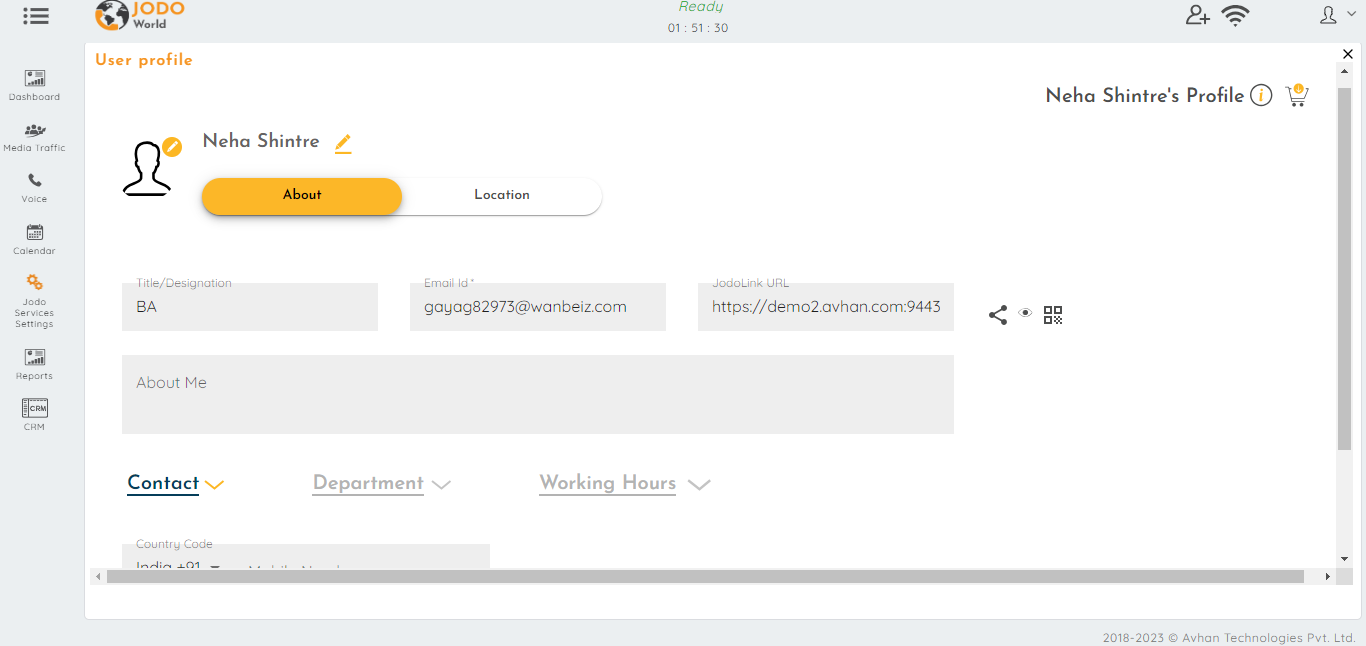
The Edit user function is used to make changes to your personal profile.Here, you can edit your profile picture (this profile picture will also be seen on the Jodo Link page shared with customers), update your personal information like designation, contact details, etc..
You can also set your contact details, department, and working hours.
Add User :
If you are a Jodo Link for Teams subscriber,
you can add new users using the “Add” tab here. Please note: “Add user “ function is available only to the administrator.
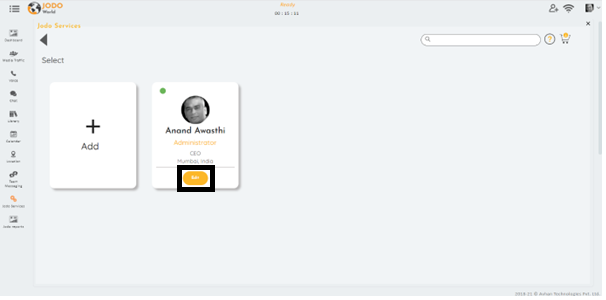
2. You can configure the admin profile using edit button as shown in the picture below
Save user information :
Please remember to save the information that you have uploaded- any changes that you have made will reflect once you click on the Save button.
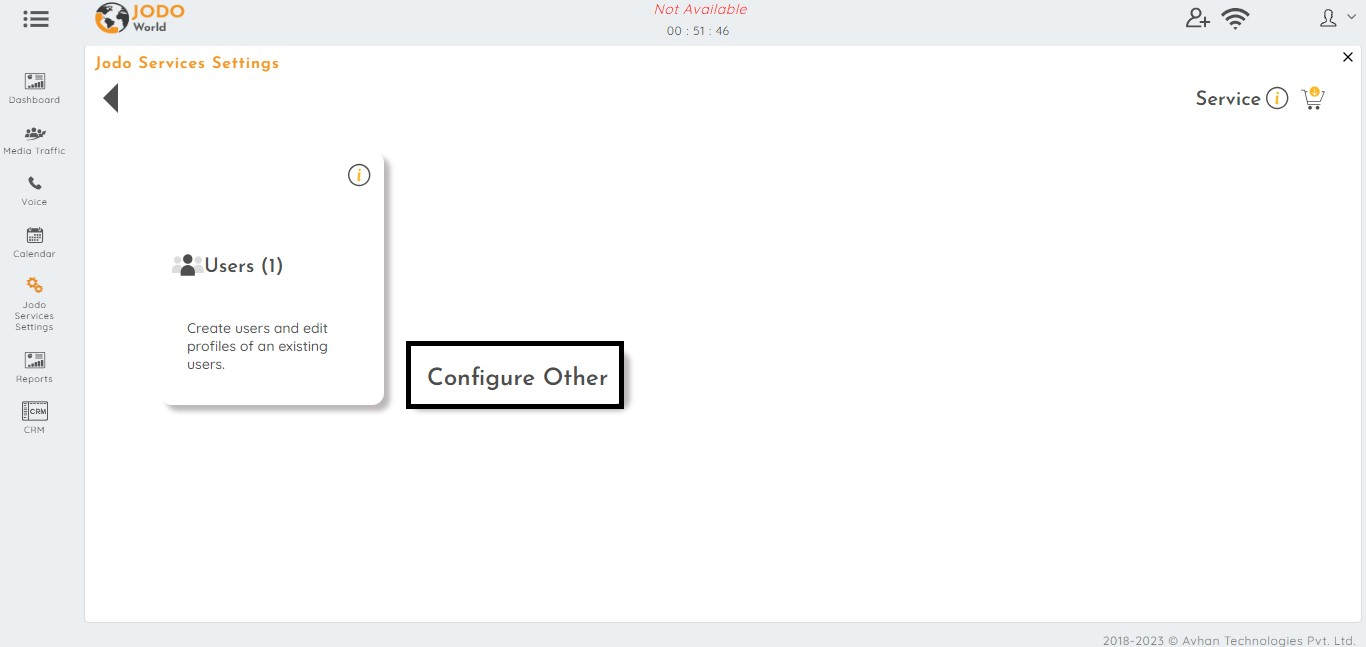
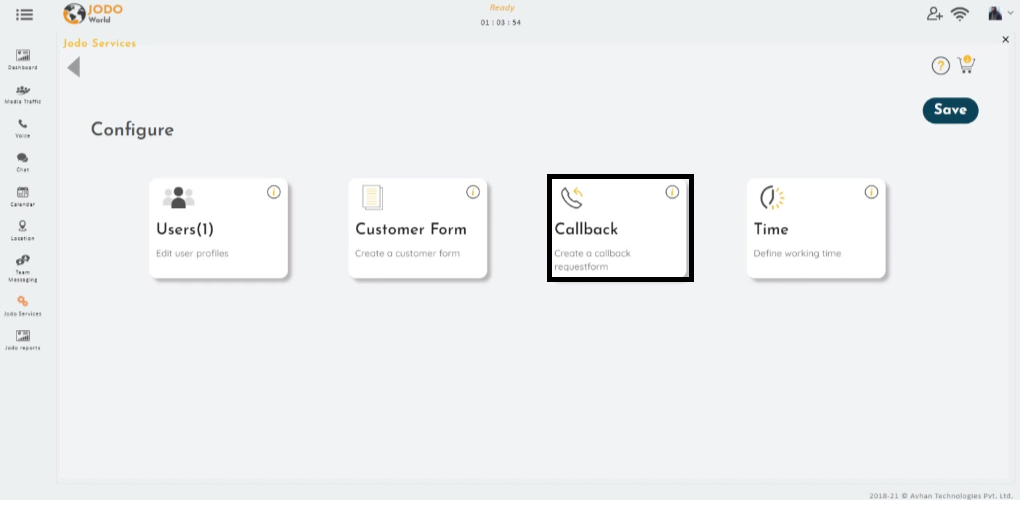
Configure other process :
Jodo gives you the flexibility to create templates to set up your profile- for example, Templates of the customer form, Business hour, Action and the information that you would like to capture through your welcome web form or callback form. These templates are created in this section.
To configure these options, simply click on “Configure Other” option as shown below.
Then just simply click on any label for which you want to create template.
Jodo Link Configuration – CRM :
The customer form displays the customer information that has been captured in the welcome form. Other fields of the customer form can be updated during the call.
Usually, only some fields like name, mobile number, and email are considered as part of the welcome form.
In this video, we shall see how to customize the fields in the customer form and welcome form.
Jodo link configuration – Call-back form :
The callback form will ask the caller to leave their details when you are not available to answer their call. You may then reach out to them at a scheduled time.
If you are not available to take a call, the caller will be presented with a call-back form.
To edit/customize the callback form click on the callback tab
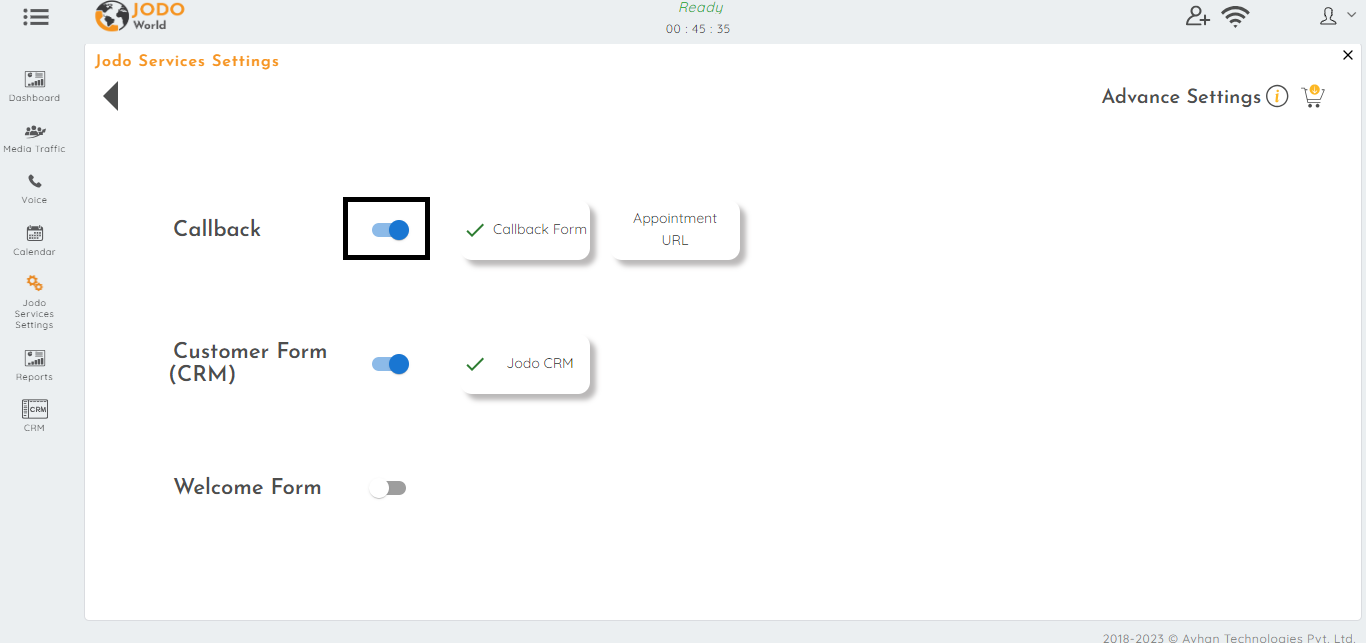
If call-back form tab is not visible to you :
If you do not get the call back form option go the Advance Settings. (Configure Other >> Advance Settings)
Enable the call-back option. Likewise you can enable / disable CRM and welcome form features from here, save your selections, and return to the previous screen to continue configuring your account.
You have the option to create your own templates. To customize your template, you will have to first create a copy of the standard (default) template using the copy button.
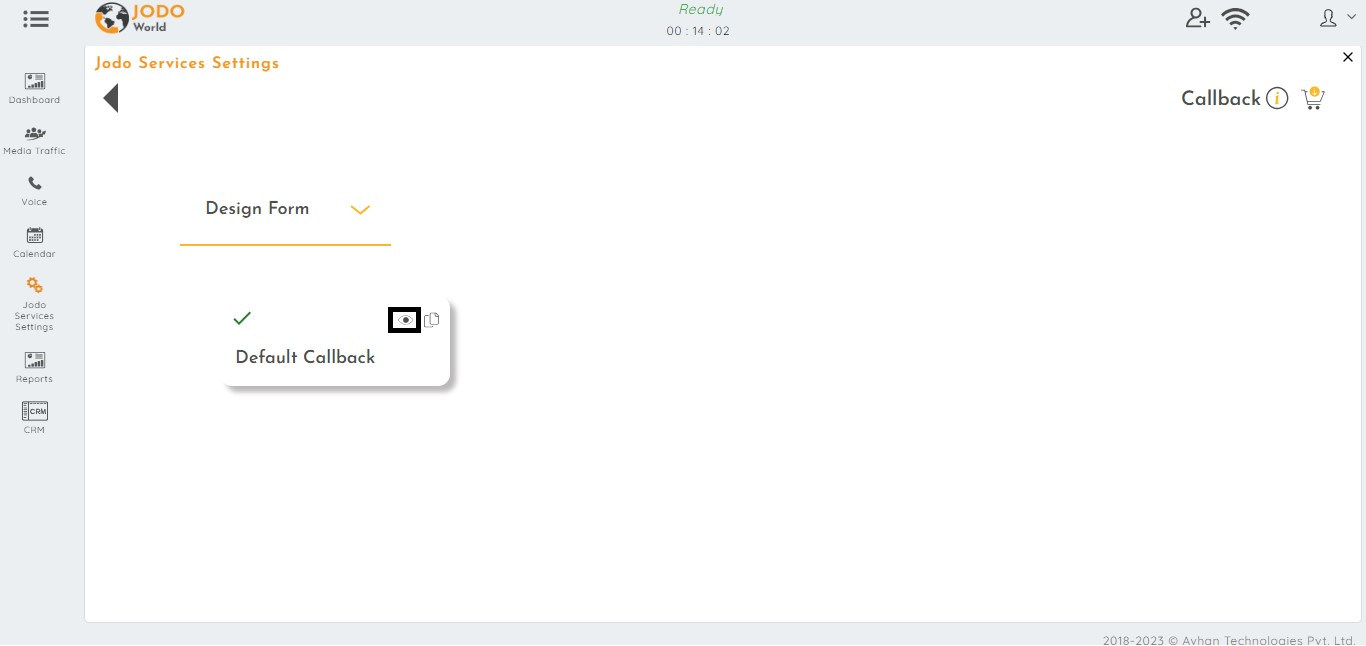
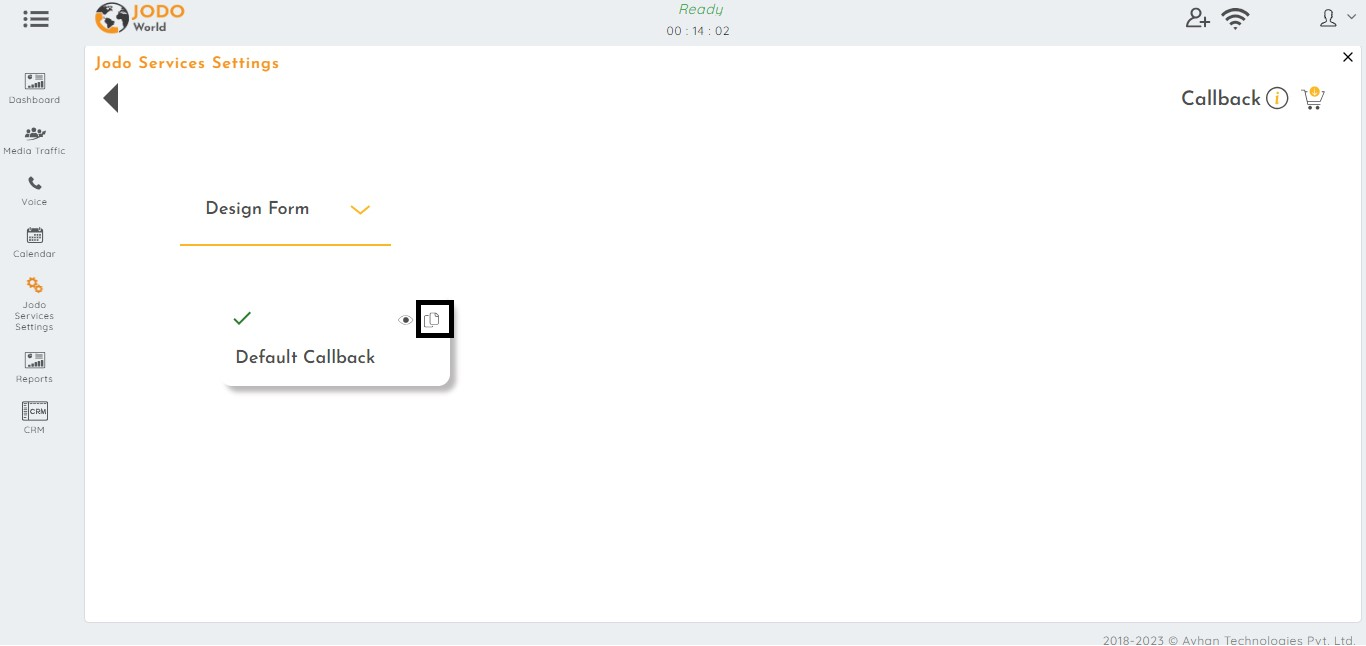
Default call back :
“Default callback” is a standard template of the call-back form – click on the eye icon to view the template.
You have the option to create your own templates. To customize your template, you will have to first create a copy of the standard (default) template using the copy button.
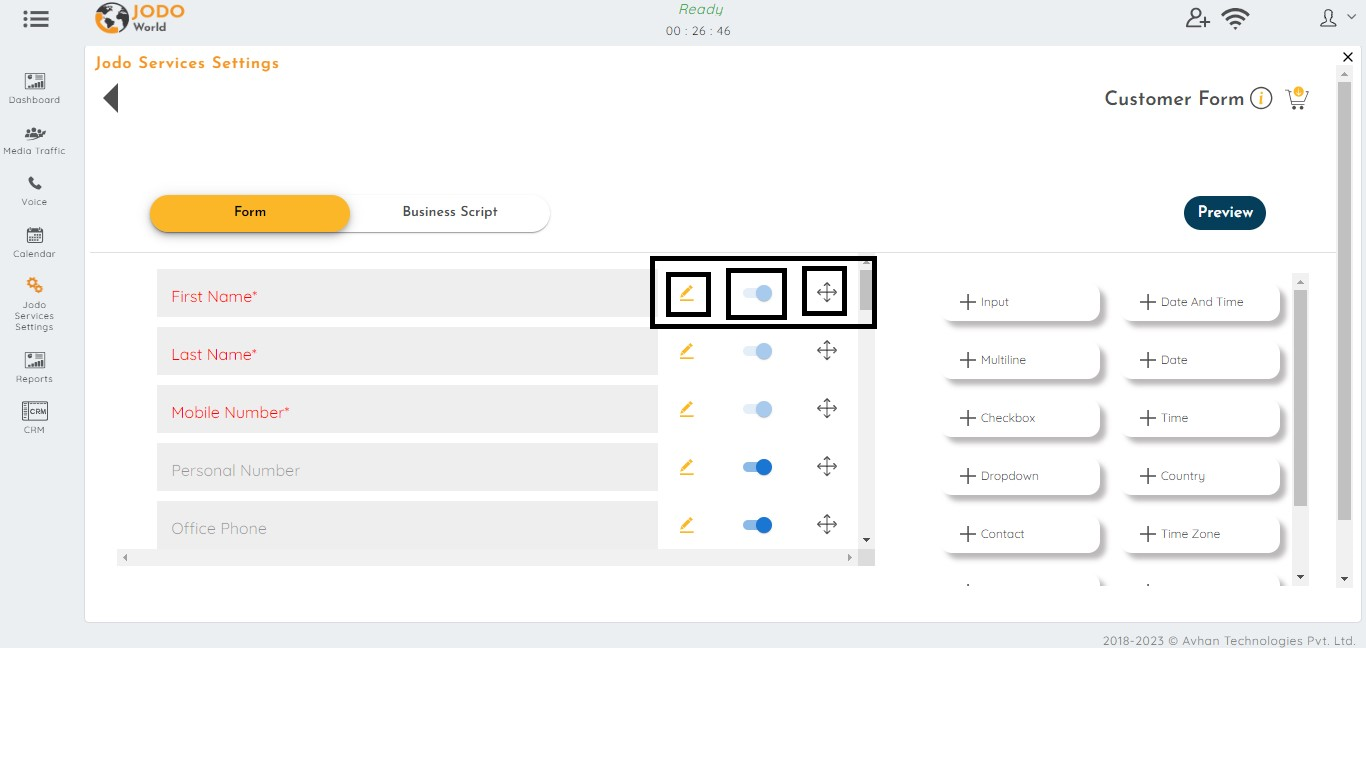
Configure fields :
Once your copy is created, you can edit the fields by edit icon, adjust their visibility, and change their sequence using the cross arrow icons, as highlighted in the image shown below.
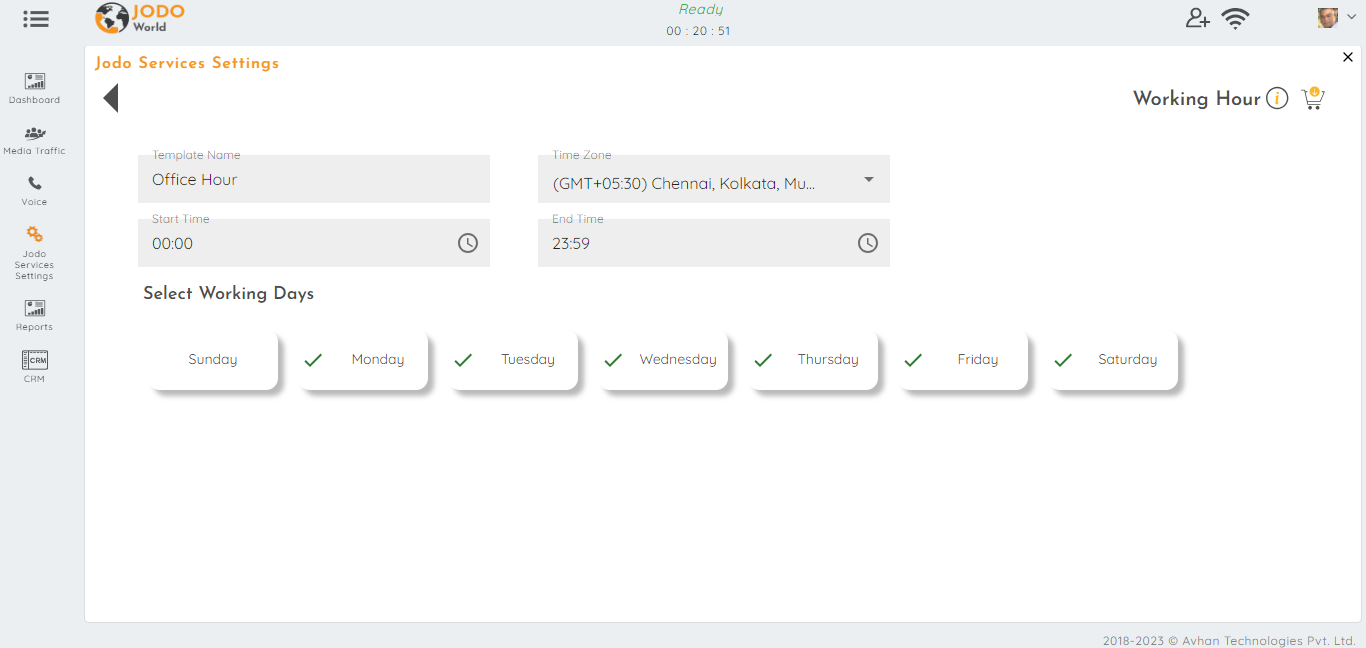
Jodo Link- Business hours :
Here, you have the option to specify your working hours for receiving calls. In business hours, you can configure the employee schedules to ensure that calls are only received during those designated times.
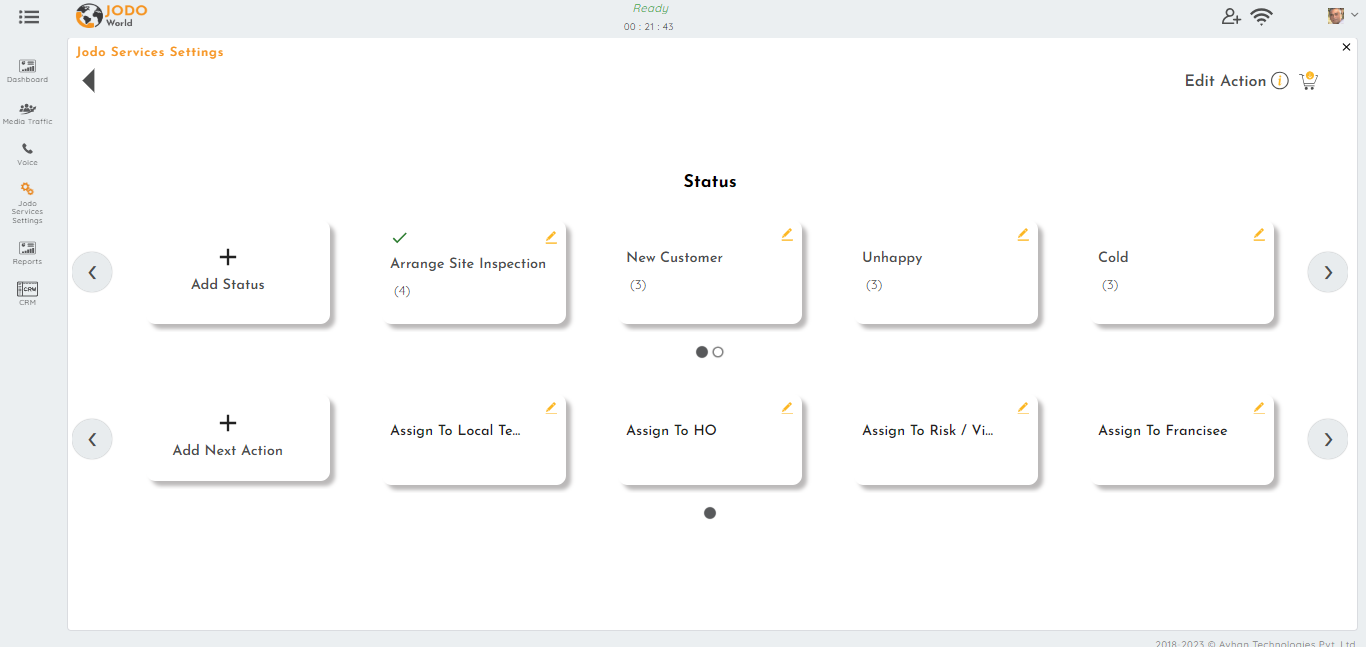
Jodo Link- Next action :
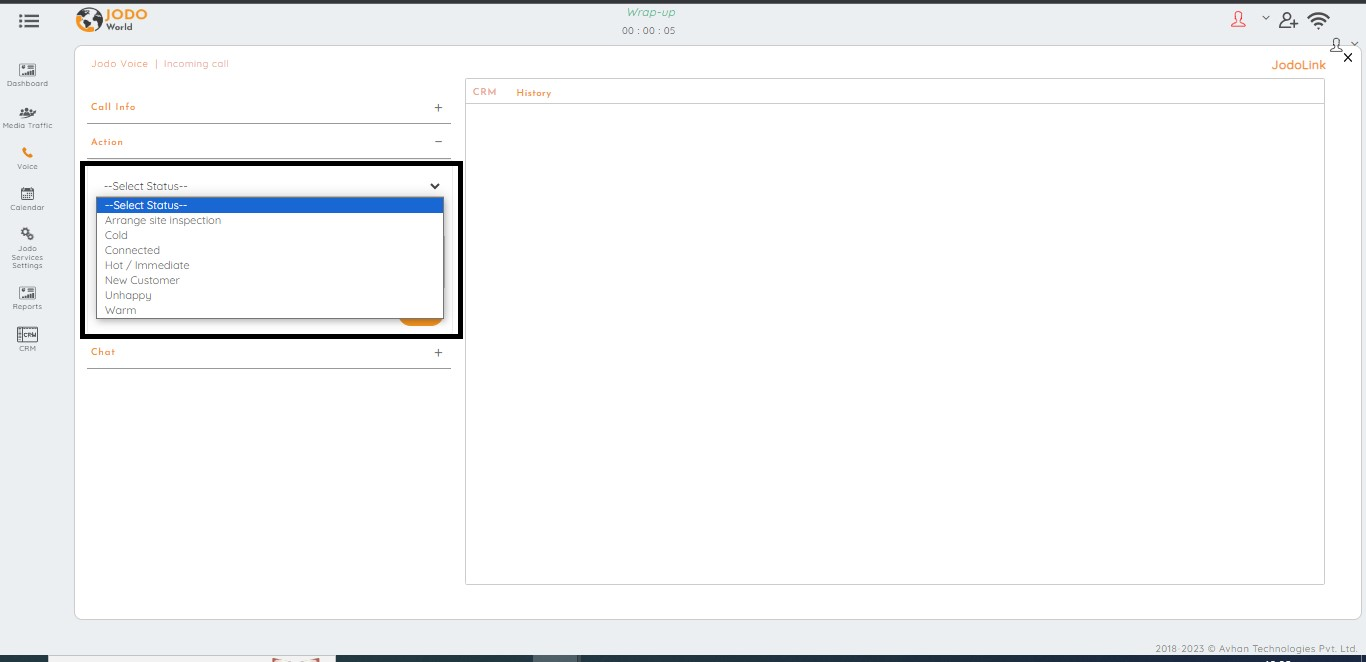
In this section, you have the ability to choose the reason for the call and determine the agent’s next course of action. For example, options like “Call back” or “Not interested” can be selected.
Introduction to the Jodo Toolbar
Jodo Toolbar (JT) is the user application that lets you interact with the customer when they call you using your jodoLink service.
Jodo Toolbar will allow you to interact via Chat, Voice, and Video from any smart device.
To assist your customers you may share files and screen with each other online during the call.
All conversations on Jodo are recorded.
Logging into the Jodo Toolbar :
Toolbar URL has been shared with you on Email
Step 1: Enter your login credentials
Step 2: Enter the Captcha value
Step 3: Select your Language
Step 4: Click on Login Button
Welcome page :
Once you are logged in you will see this welcome page. You are now ready to receive calls from your customers.
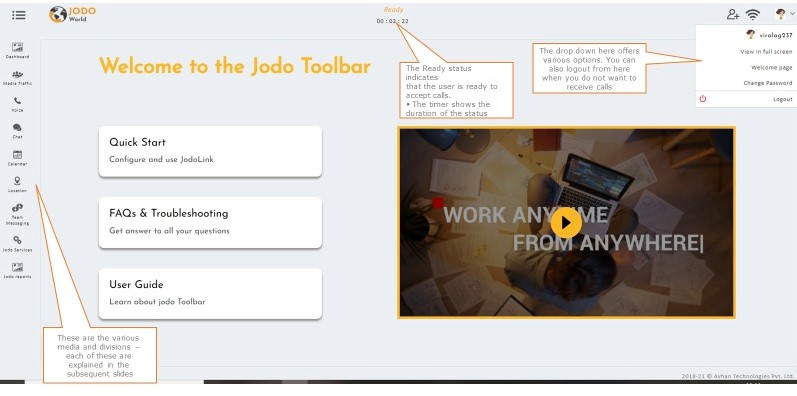
Quick summary of Toolbar :
The below slides give you an overview of the functions of the Jodo Toolbar. Each of these will be described in further sections.
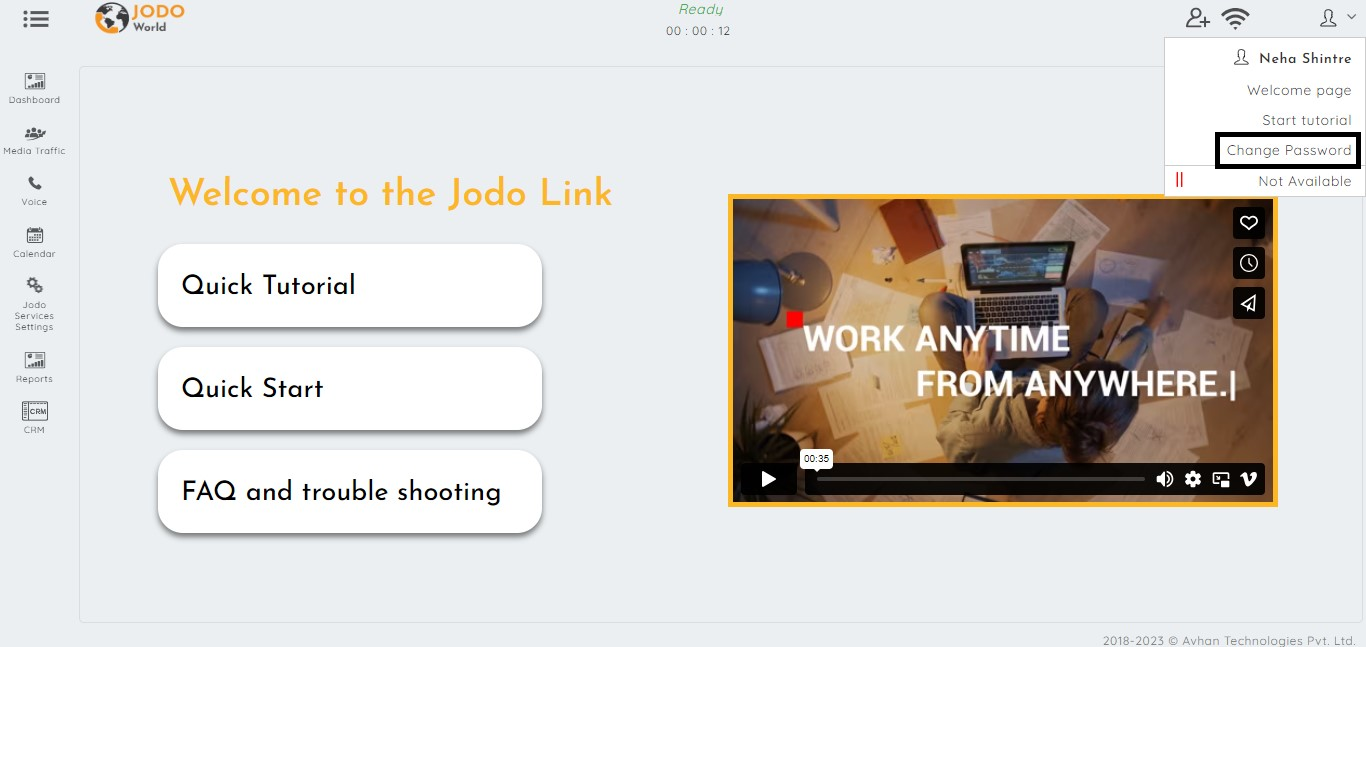
How to change your password :
Steps:
Step 1:
To change your password, go to your profile icon and select change password option
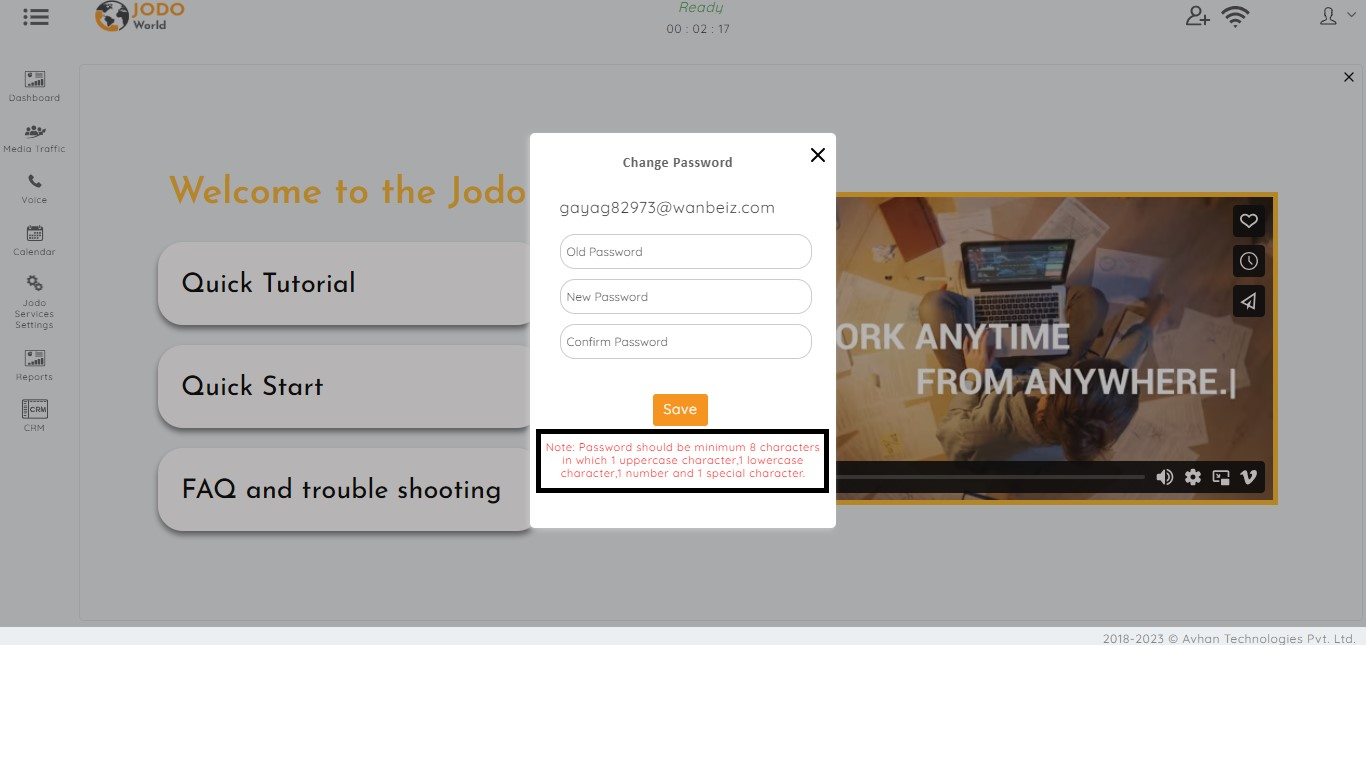
Step 2:
You need to correctly enter the old password and new password. (Ensure that the password you choose meets the required criteria.)
Re-enter the new password in the “Confirm password” tab and “Save” your password.
Once your password change is effected successfully, you will get a notification as shown below.
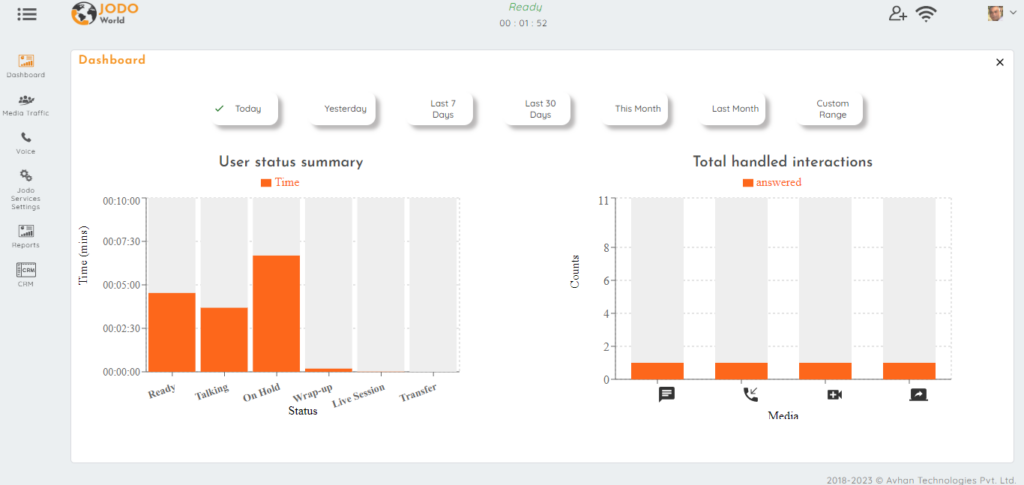
Jodo Toolbar – Dashboard :
Jodo toolbar dashboard is a graphical summary of your status and the calls handled during the day. The call count takes into account the media in which the call was handled
You can search for users and select, and the dashboard will display a combined graphical summary of users status and the total number of calls handled during the day.
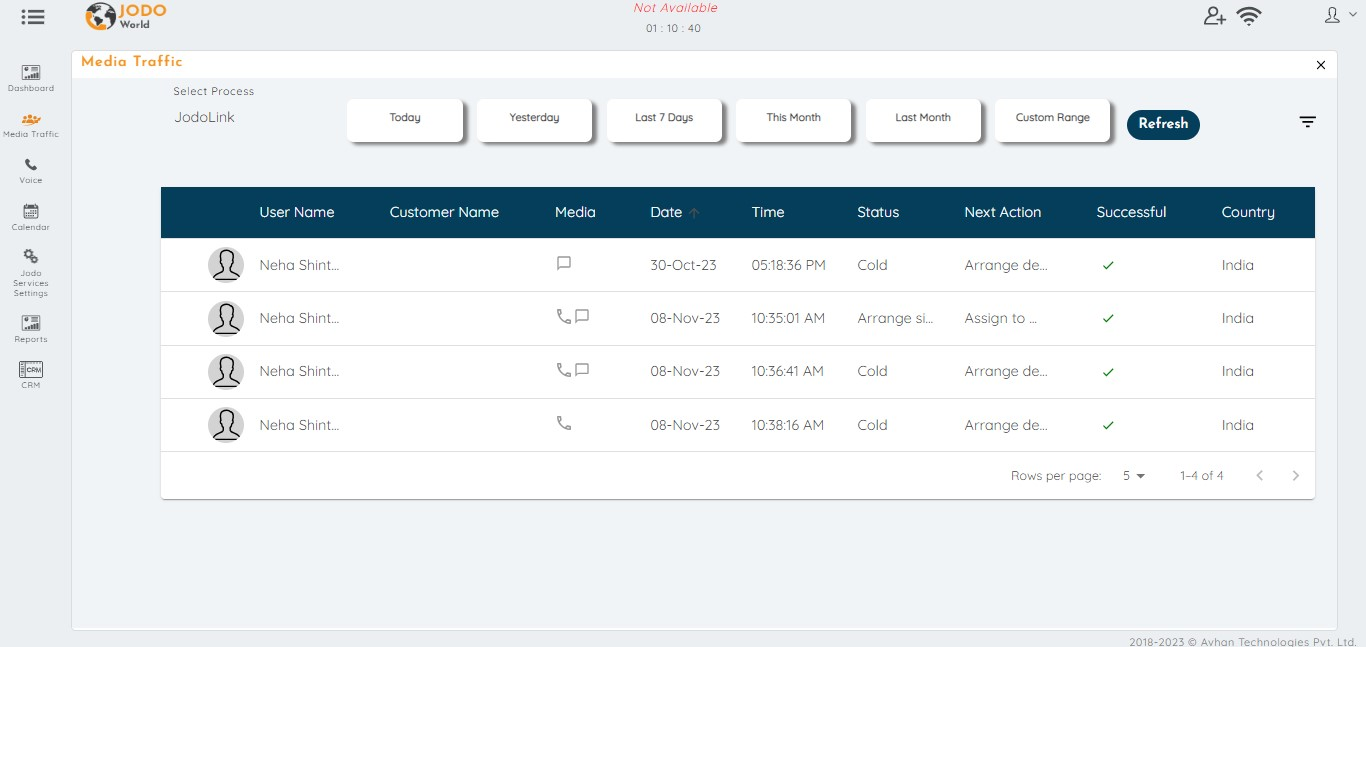
Jodo – Media traffic :
The image displayed here is the Media Traffic Window – it shows all the communication handled by the User for the selected date range. It shows the channel on which the call connected. The call details can be viewed by clicking on the view icon.
Clicking on “>” button provides you with the complete details of the call. You can see the transcript of the chat conversation, Customer CRM, Session details, Action.
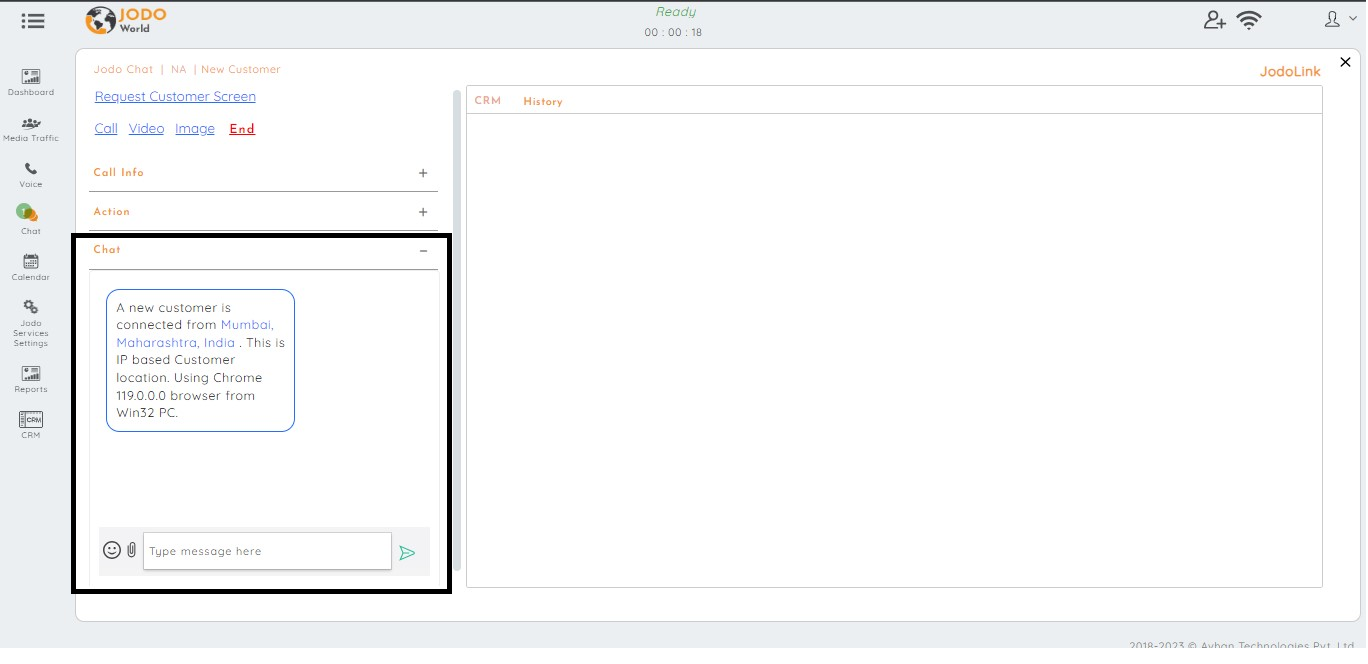
Jodo Toolbar – Chat :
This is the Chat window that will open on the user’s screen when he receives a chat request.
The chat window provides vital customer information to the user. For example the customer’s location, device, and browser details. If the customer has interacted with the user previously, the details of the call will be available in ‘History’. The user can handle 5 concurrent chats at a time.
You can start typing your messages in the chat bar. You can share documents using the attachment pin or share emojis too.
You may send a request to start a voice or video call with the caller by clicking on the voice & video buttons.
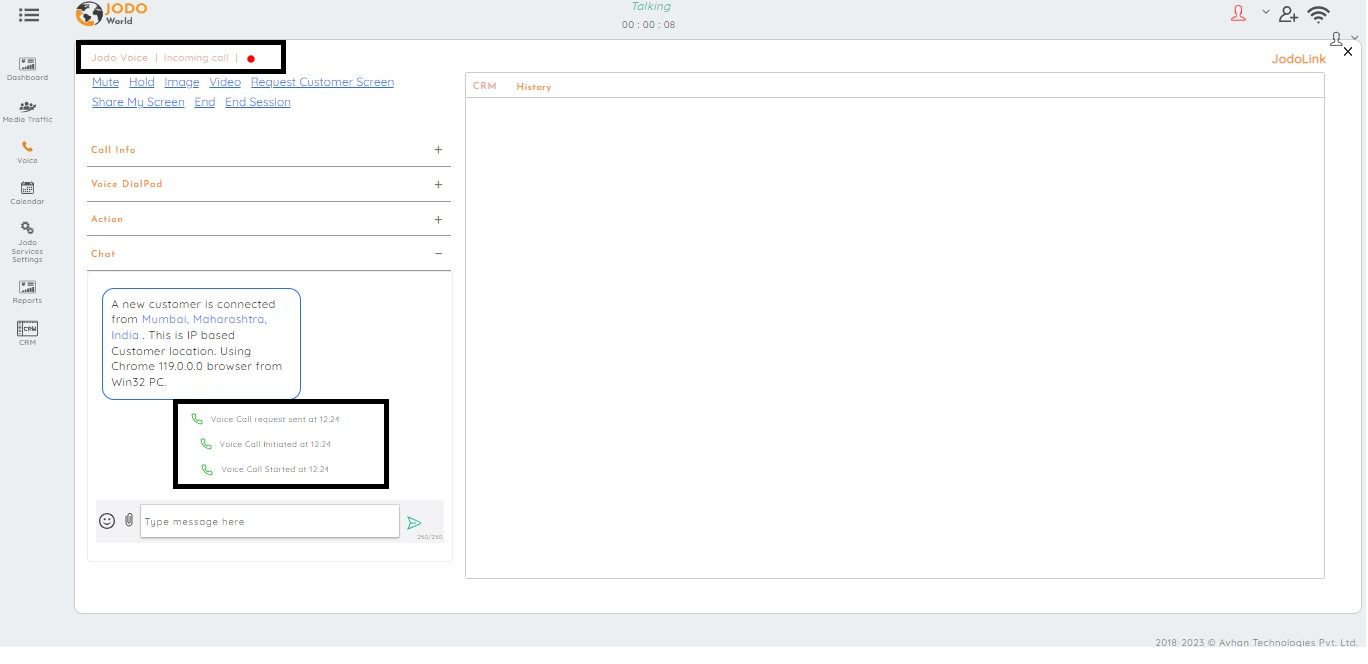
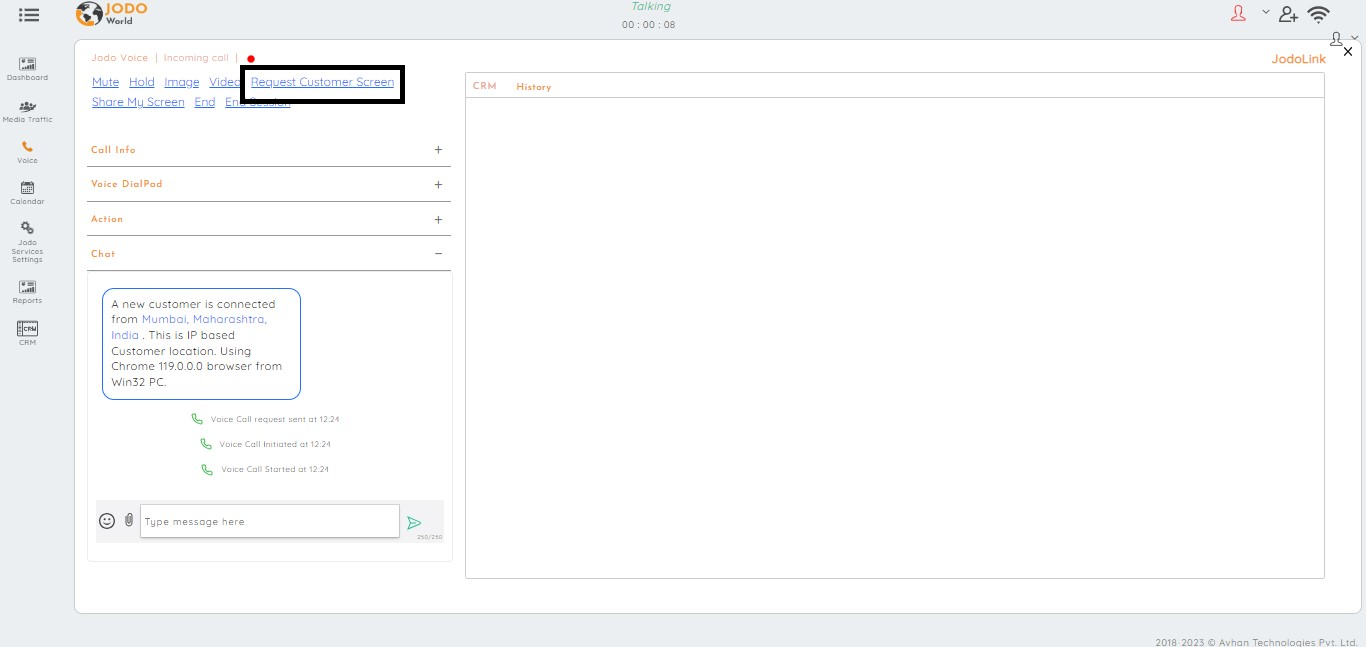
Jodo Toolbar – Voice call :
To initiate the voice call you have to click on the call button.
When you click on call button, a call request is sent to the customer and a voice call is initiated after the customer accept the voice call request.
You may continue to chat during the voice call by typing in chat bar.
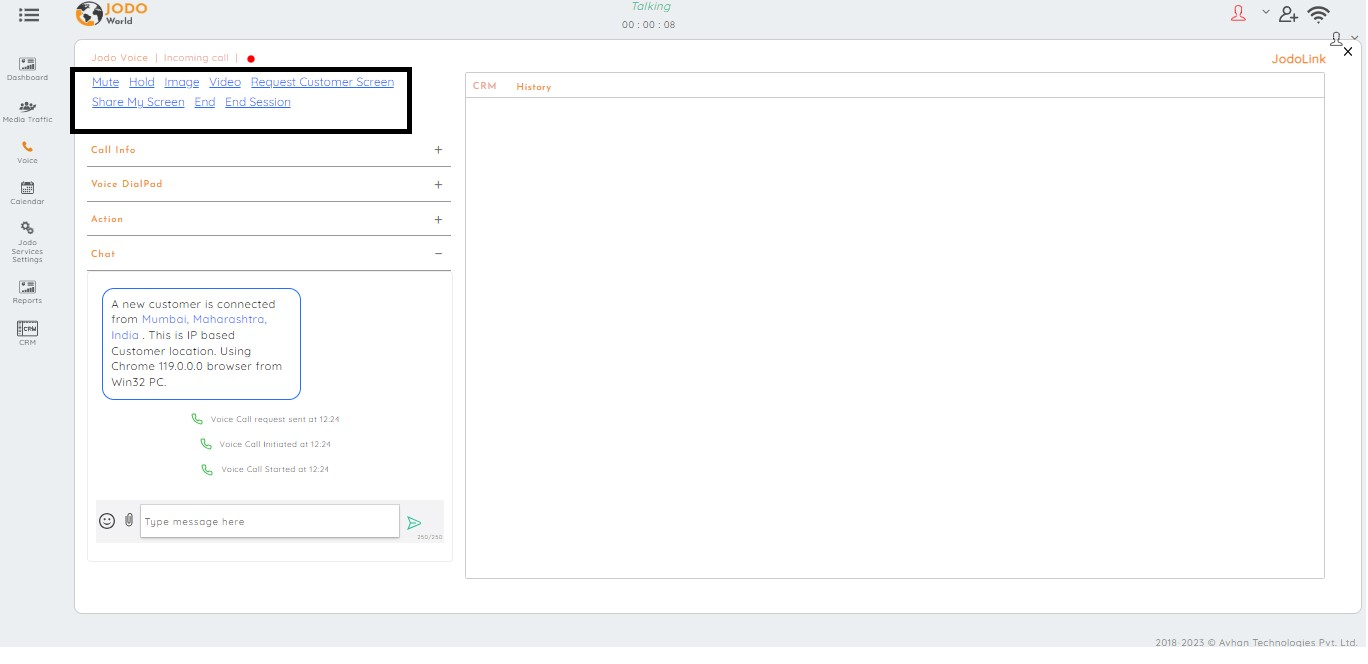
You have various options after voice call getting connected such as Mute, Hold, Conference, Image, Video, Screen share, etc. As shown in the picture below.
Mute : You can mute yourself using the Mute buttons.
Hold : You can put the caller on hold if required using the Hold button.
Conference : The Agent also has the conference option via which they can start the conference with the Third-party or with the internal team member.
Image : The image option helps the Agent to take a live image of a customer.
Video : You can easily convert your ongoing voice call into a video call by clicking on the video button.
Library : You can help the customer by sharing the relevant documents via the library.
Request Customer Screen : You may request to see the customer’s screen using the ‘Request customer screen option’.
Share My Screen : You may assist your customer by sharing your screen using the ‘Share my Screen’ option.
End : Clicking on the End button will end your voice call – your chat connection will continue.
End Session : The end session ends the entire communication session with the customer.
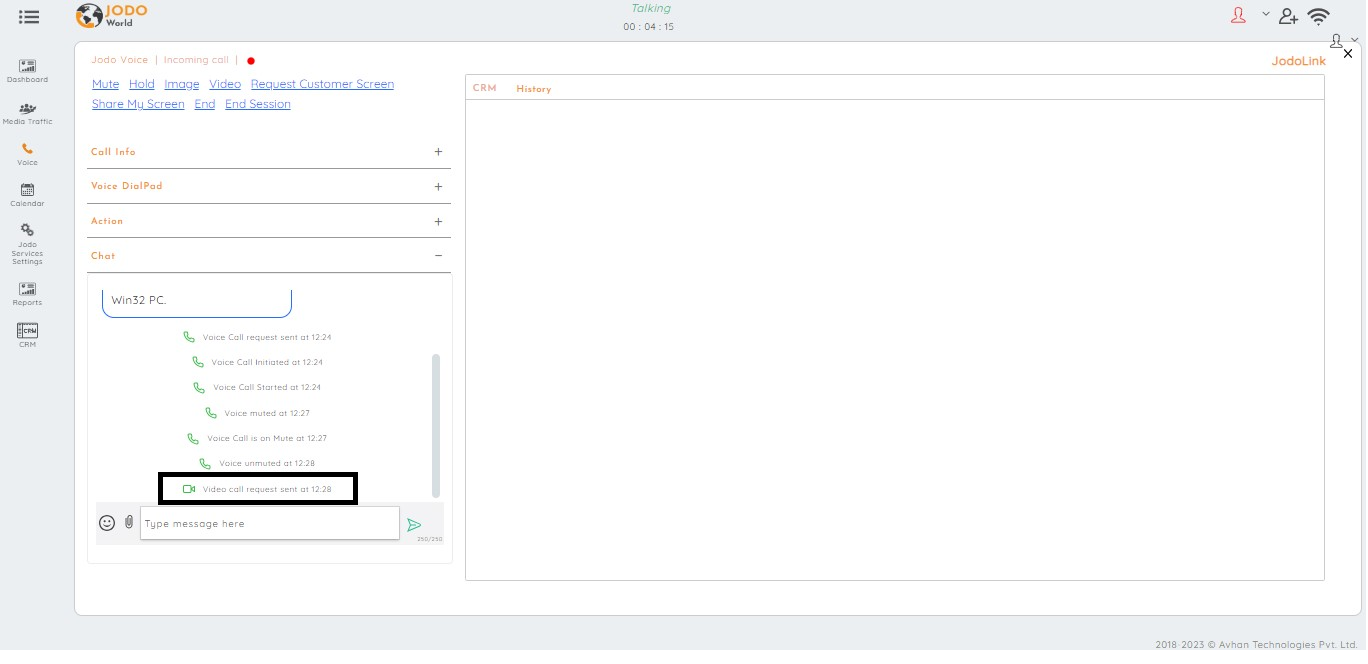
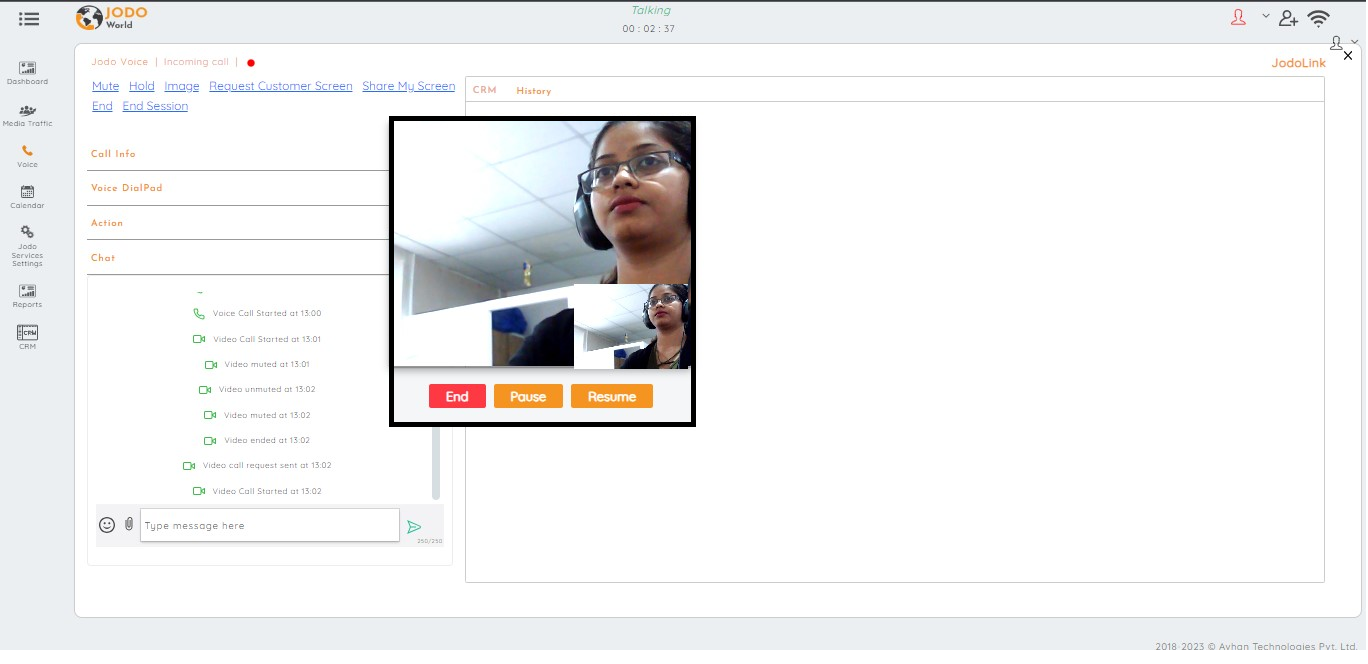
Jodo Toolbar – Video :
To start a video call with a customer, click on the Video button as shown below.
A request to accept the Video call is then sent to the customer.
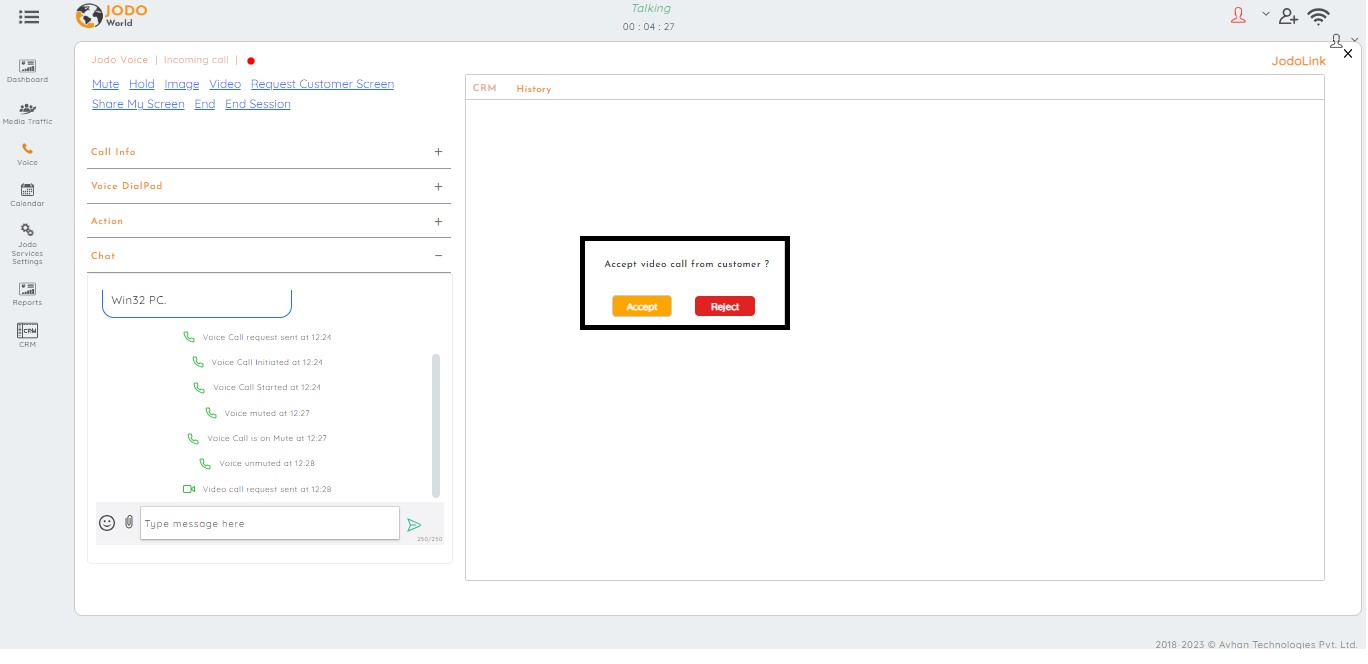
After the customer accepts the request, following request comes to you to proceed with the video call.
Following window will be displayed, once the video call is initiated.
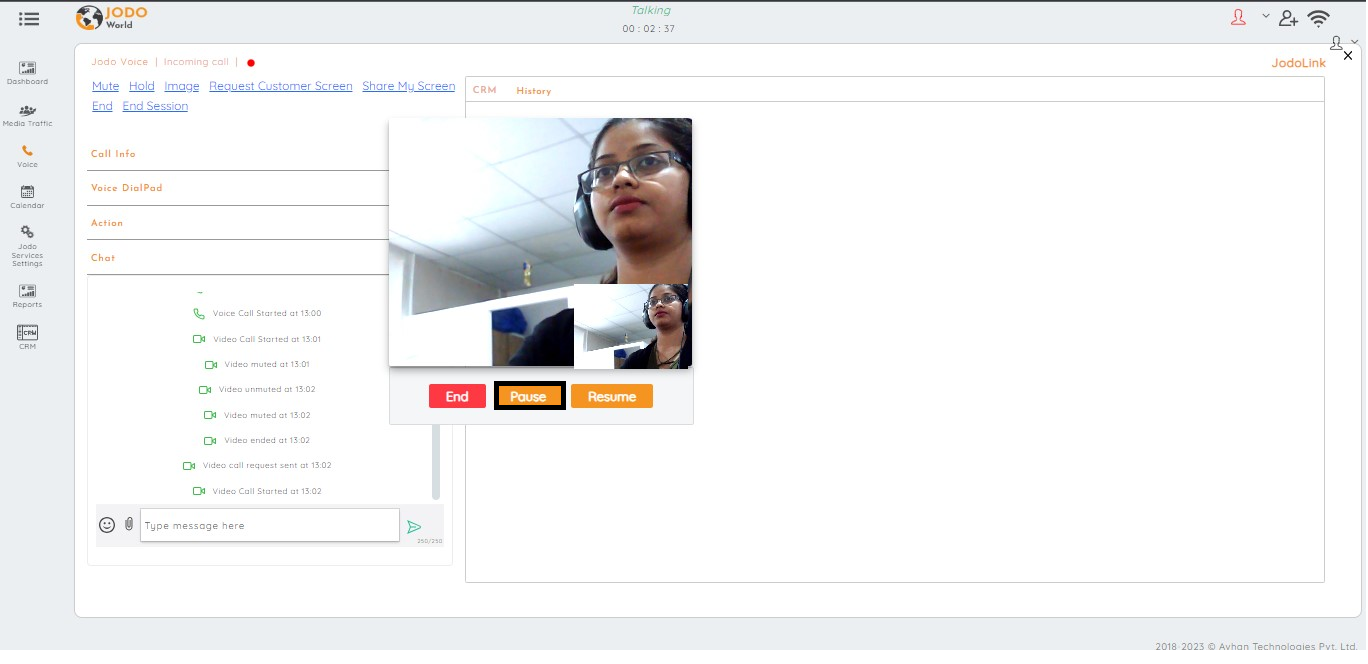
You have the option to pause the video by clicking on the “Pause” button.
Selecting “Pause” will hide your video screen from the other end.
Then window will look as shown in picture below.
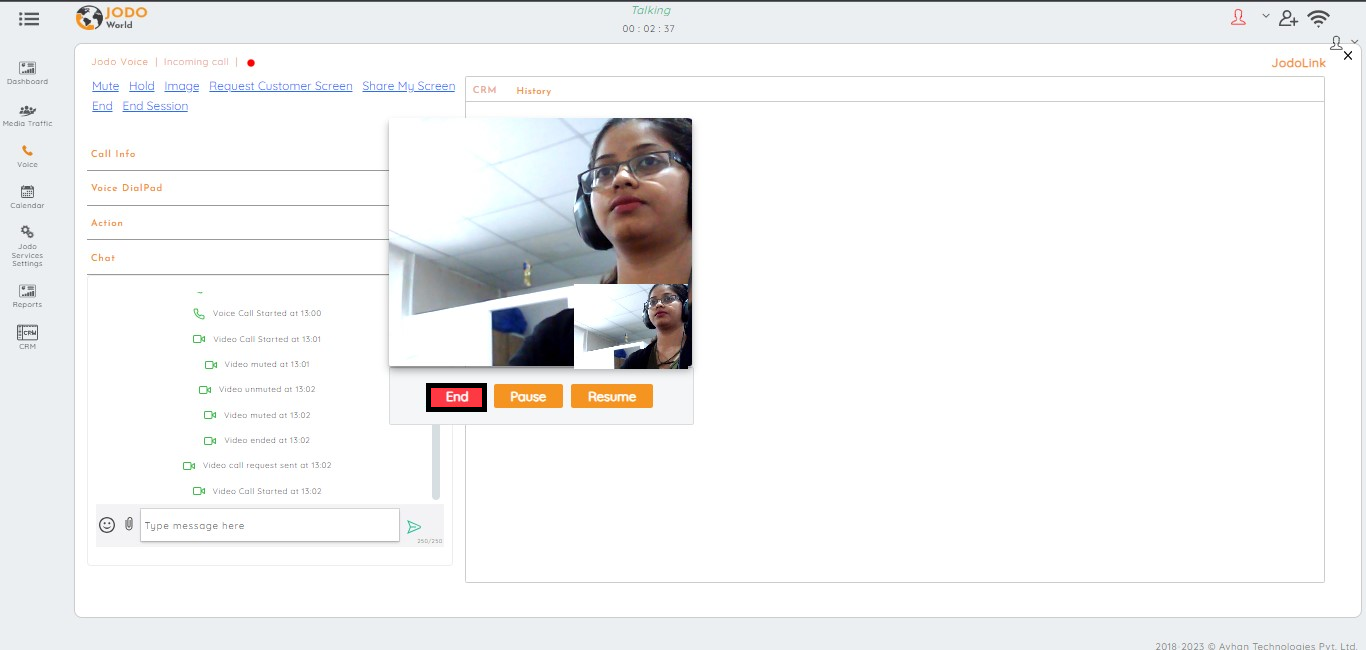
To resume the video, simply click on the “Resume” option.
If you want to end the video call, simply click on “End” option.
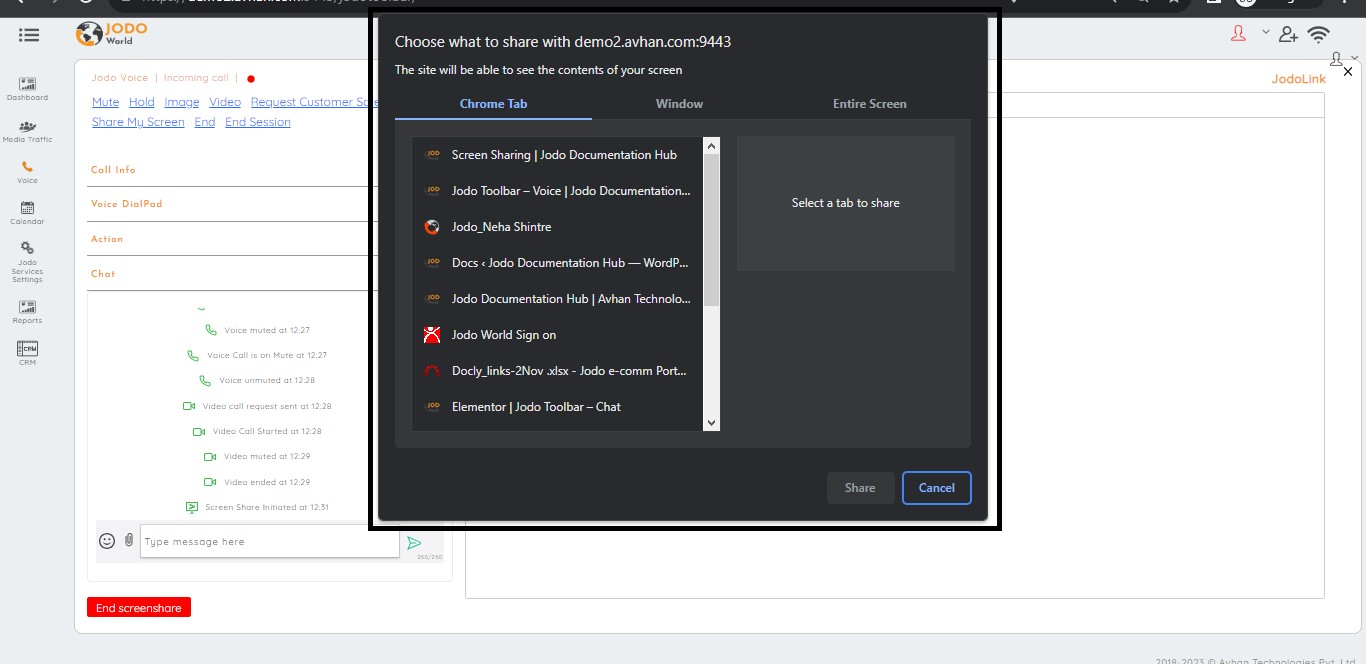
Screen Sharing :
To provide assistance to the customer, the user may want to share his / her screen. This is done using the ‘Share my Screen’ option.
When you press ‘Share my screen,’ a new tab appears, just like in the picture. You can choose to share your whole screen, a specific window, or a browser tab.
You can also request to see the customer’s screen using the ‘Request customer screen’ option.
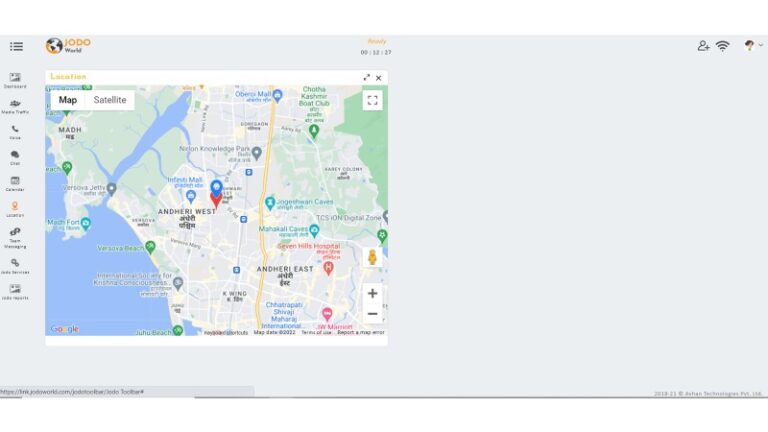
Location :
By default, the customer location is captured live and can be viewed by the user on the location screen. To access the customer location screen/map click on the pin icon in the toolbar.
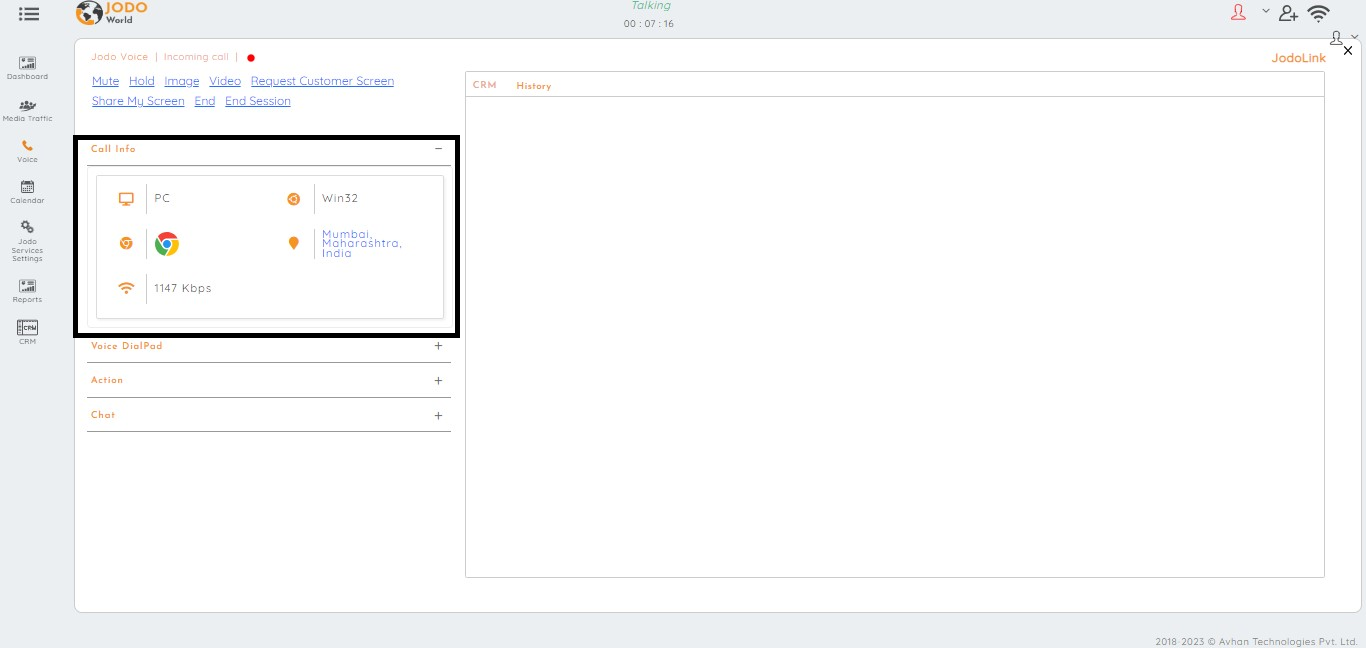
Call Info :
The Call info tab provides valuable information about the customer to the user:
This includes the customer’s device, browser, the OS of the device, the customer’s location, and the available bandwidth of the customer.
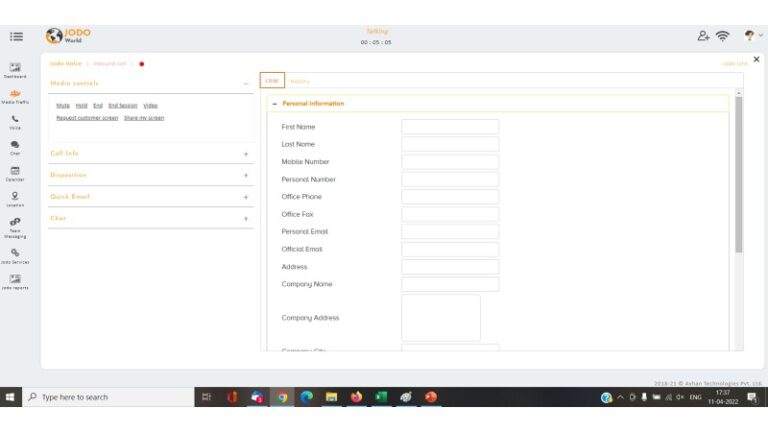
Jodo CRM :
This is Jodo’s integrated CRM.
The CRM will show the customer’s name and other information that is captured from the welcome web form filled up by the customer while setting up the call. The other fields will be populated from the data available in the database.
The customer data can also be updated/edited during the call. This information will be saved to the database.
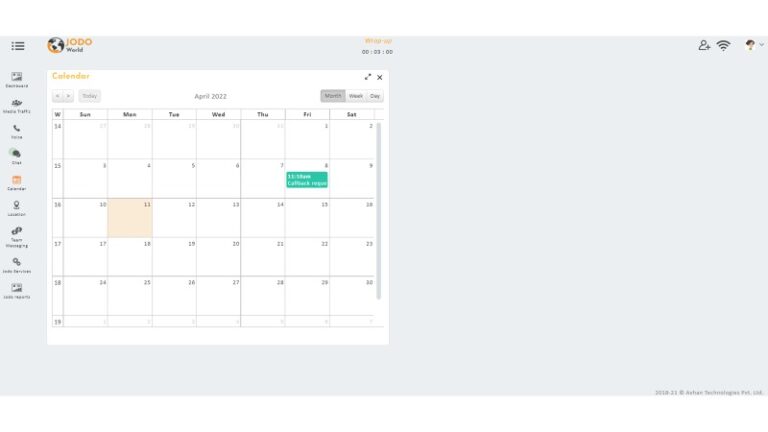
Calendar :
The calendar can be used to schedule a call or a meeting with the customer. Users can also set a reminder for important events.
To access the calendar, click on the calendar icon in the right hand toolbar.
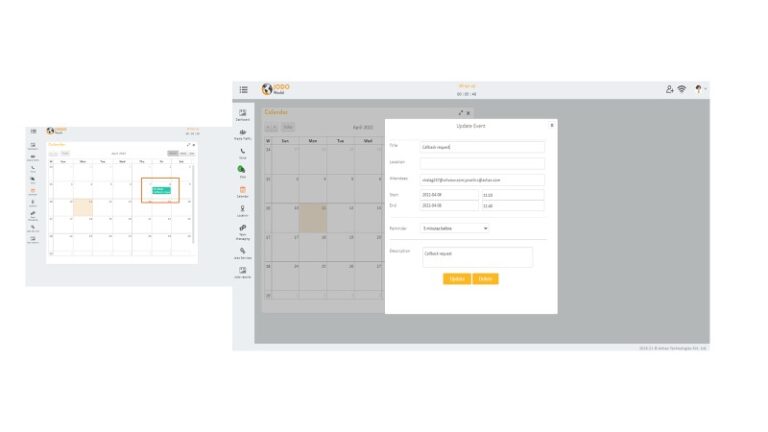
View call back request in the Calendar :
Any call-backs registered by callers will be also visible in the calendar.
Details can be viewed by clicking on the call-back request. You can click on the update button if you wish to update the call-back details
The Calendar helps the user to create an event and share the Jodo link to invite the customers on a call.
To create an event, click on the day you want to create the event.
A “Create Event ” window will pop up
Fill in the details and click “Save” The event will be created on the specified day and an invite will be sent to the email address mentioned in the attendee’s field.
Creating an event in calendar :
The Calendar helps the user to create an event and share the Jodo link to invite the customers on a call.
To create an event, click on the day you want to create the event.
A “Create Event ” window will pop up
Fill in the details and click “Save” The event will be created on the specified day and an invite will be sent to the email address mentioned in the attendee’s field.
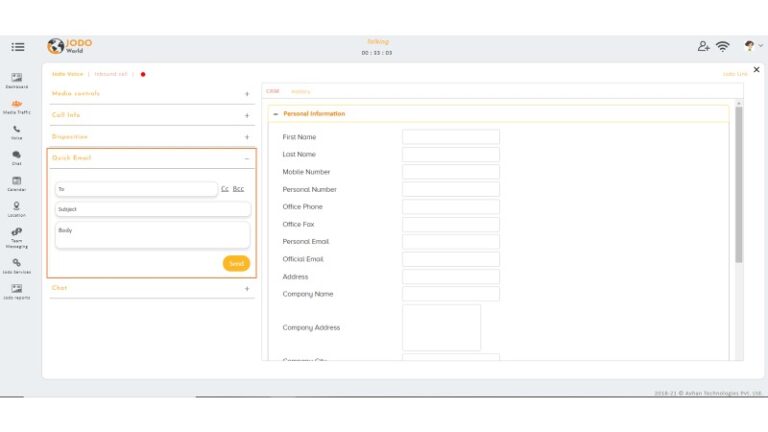
Jodo Email :
Quick Email allows you to send an email to the customer while you are on the call.
You can add a cc & bcc to the sender’s list.
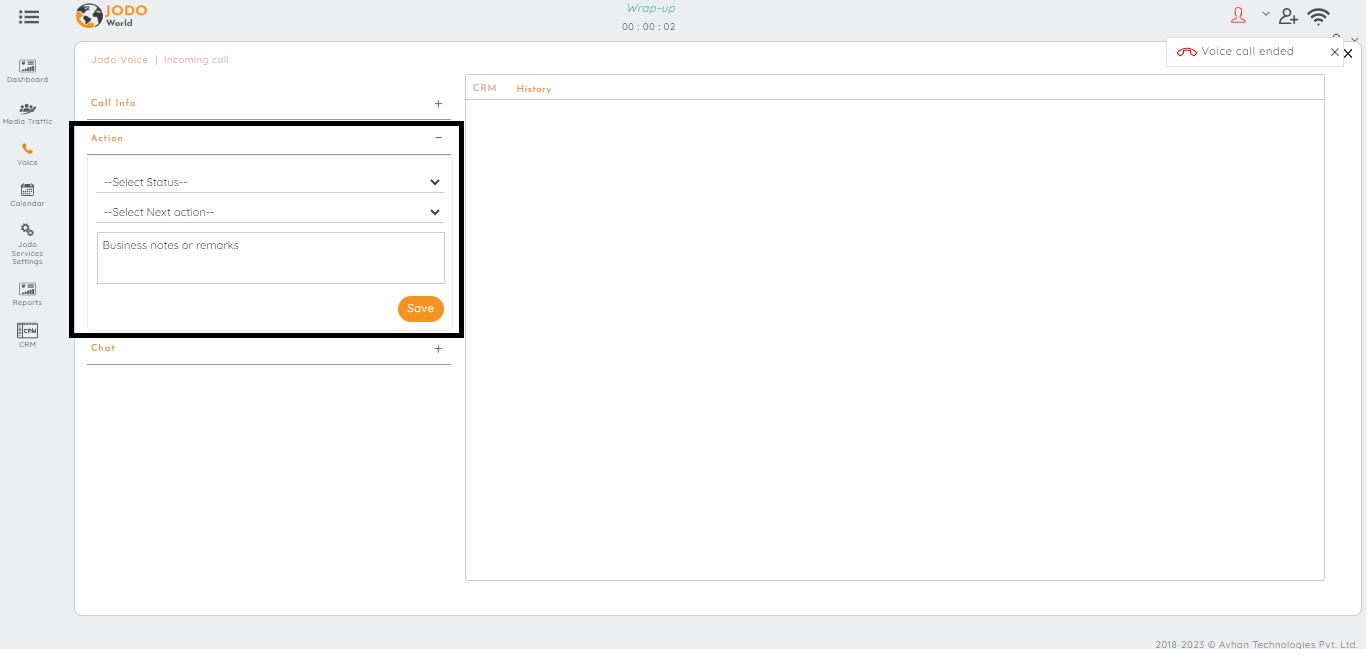
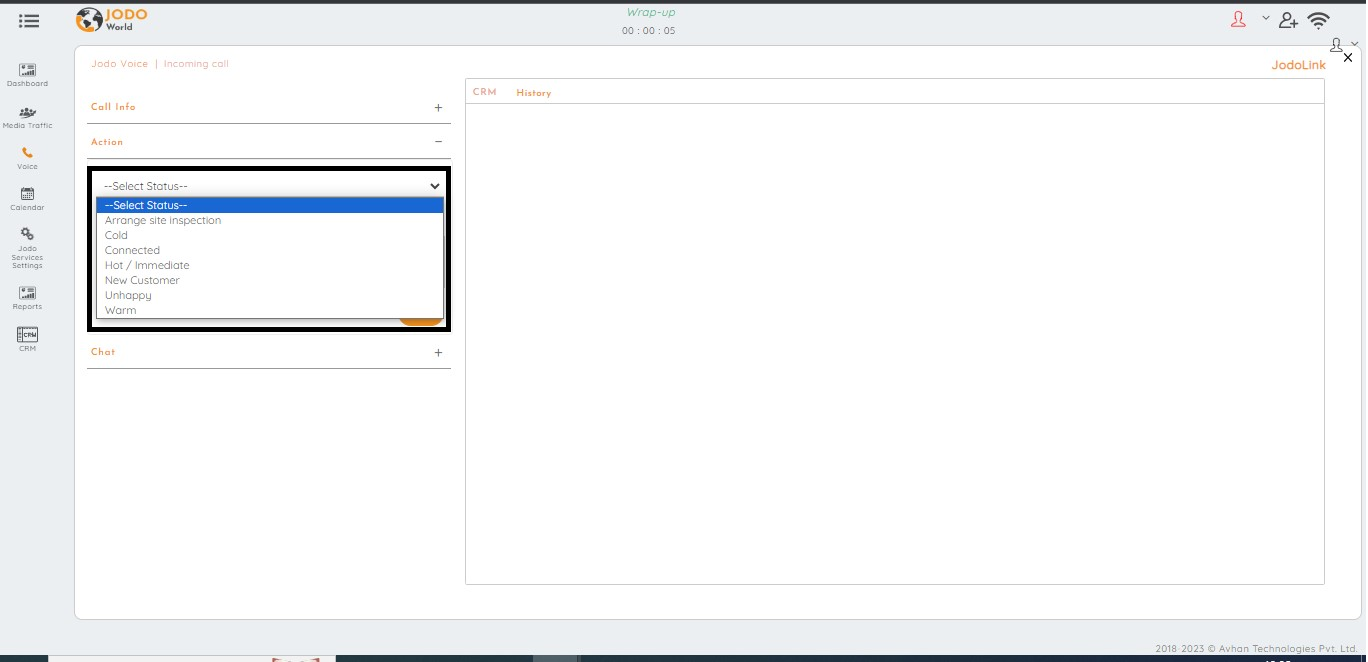
Disposition/call outcome :
Jodo offers 2-level dispositions, Once the conversation is over and the user ends the session, the user must select dispose master for the call and define a call outcome by selecting the appropriate Status and the reason for the call and then save it.
The agent has the option to add his / her notes or remarks pertaining to the call.
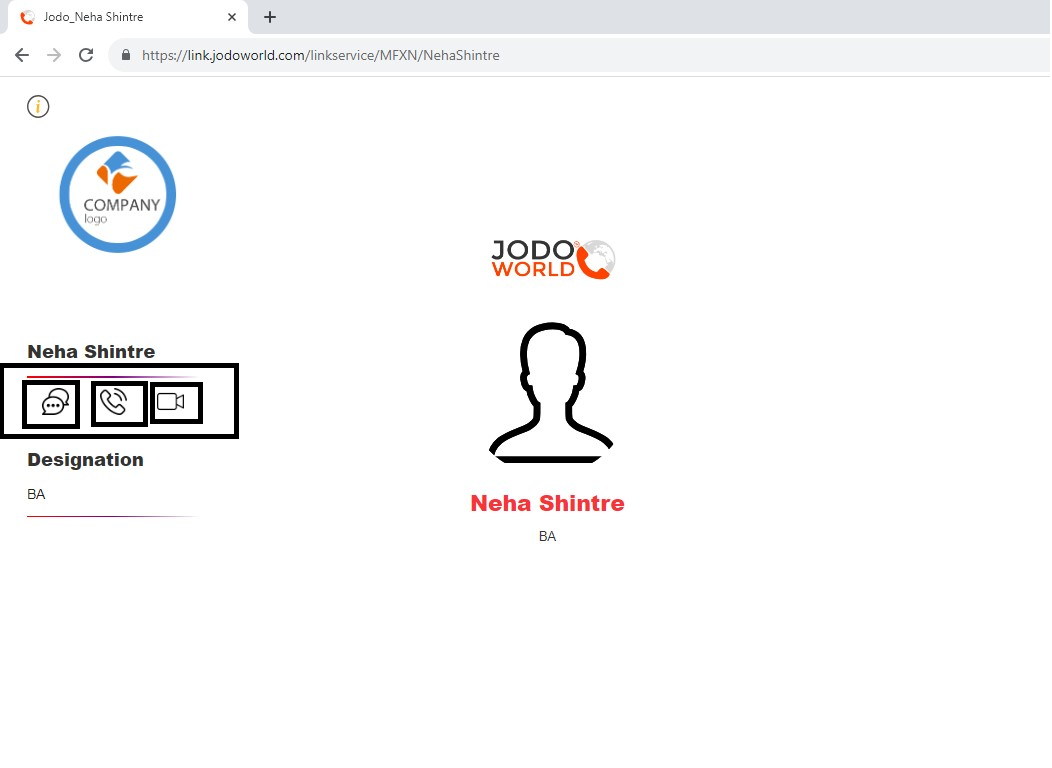
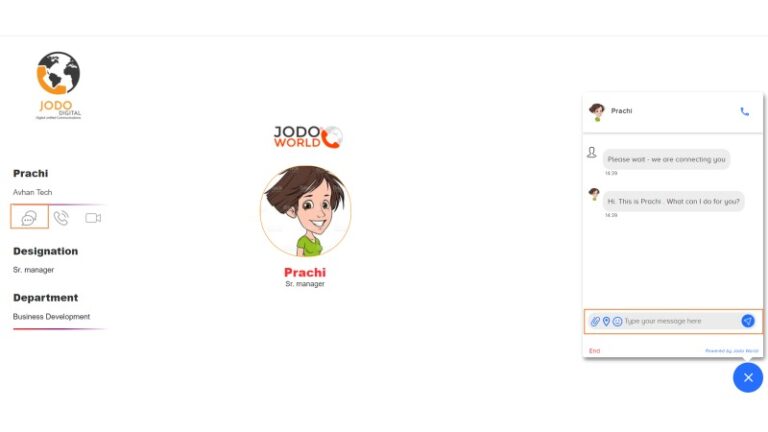
Jodo Link Widget – Customer Interface :
This is the customer-side interface referred to as a widget, where customers will arrive by clicking on your shared Jodo link.
Customers can initiate conversations with user, using the highlighted tabs for chat, voice call, or video call.
Jodo Link – D2C Global Business Communications :
INSTANT Digital communications – for the “Connected” business world. Jodo Link is a service that provides 2-way LIVE Video / Audio / Chat communication between Customers and business users Globally.
Start Voice, Video, or Chat conversations with business users directly
Maintain a record of all conversations
You can embed jodoLink in:
Email Signature
QR code
Any document (word, pdf, etc.) or presentation
Videos
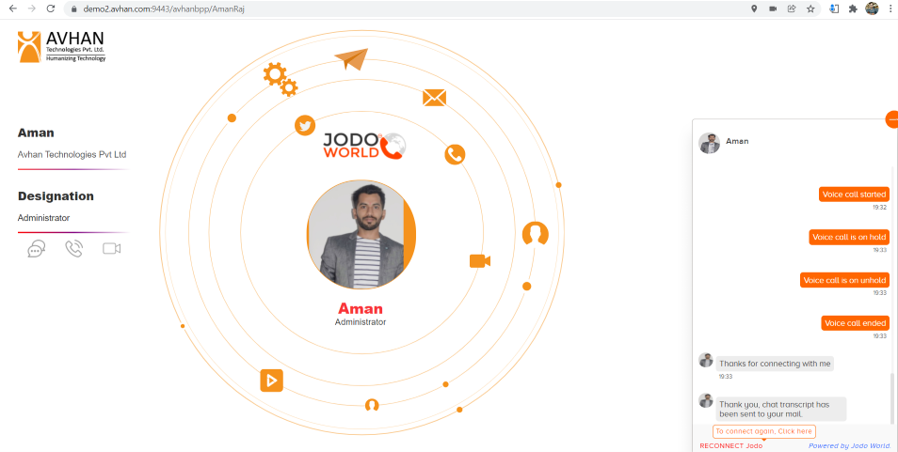
Starting Jodo Chat :
Click on the chat icon to start a chat conversation with your contact Clicking on the chat icon will open a chat window. Type in the chat bar and start your conversation with a business user from Anywhere in the world.
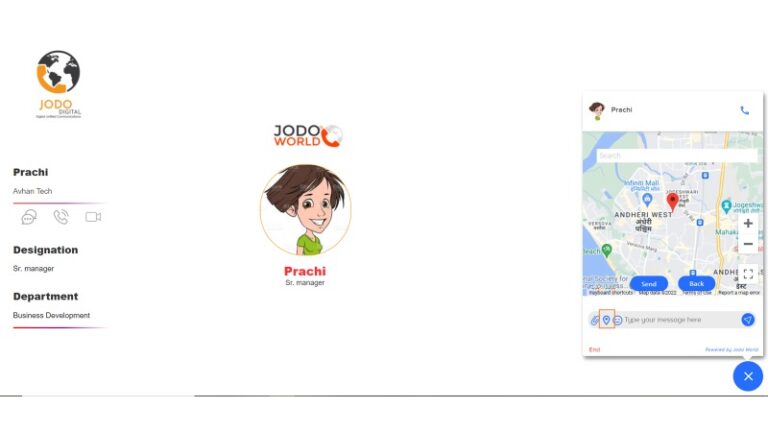
Sharing location :
Click on the Maps icon to share your location with your contact. Map with your location will be shown in the chat window. You can share it with your contact by clicking on send.
To share any file from your desktop/laptop, click on the attachment pin. Select the file that you would like to share and click on “Open” to share the file
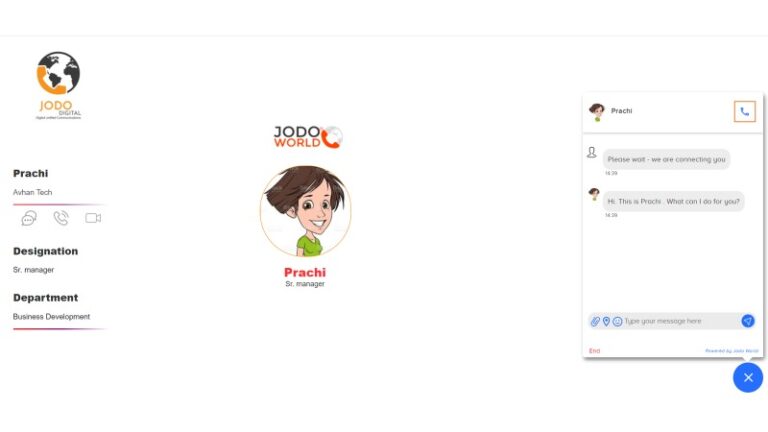
Starting Jodo voice call :
Click on the call icon to start a Voice call within your browser itself with your contact Clicking on the call icon will convert the ongoing chat to a voice call.
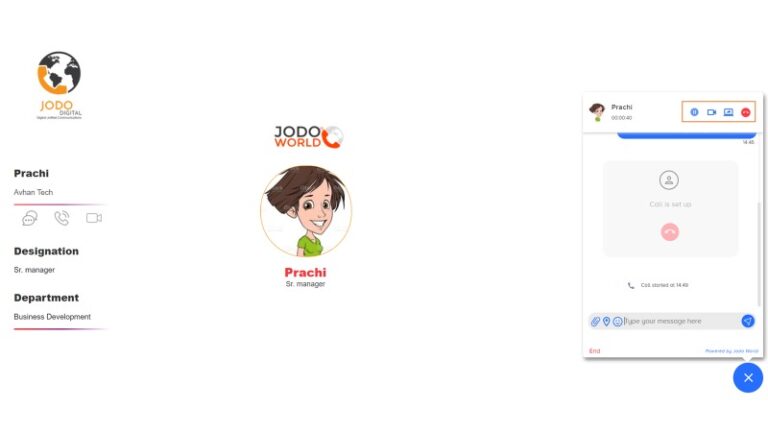
When you click on the call icon, your call will start, and the following window will be displayed. You can continue to chat and/or share files, location, etc. with your contact even as you speak.
You can place your call on hold by clicking on the hold button.
You now also have the option to share your screen or convert your voice call into a video call.
Screen sharing :
If you would like to share your screen with your contact, click on the Screen-share button in the chat window.
Clicking on ‘Screen-share’ button opens a tab as shown in the picture here.
The user has the option to share the entire screen, a window, or the browser tab.