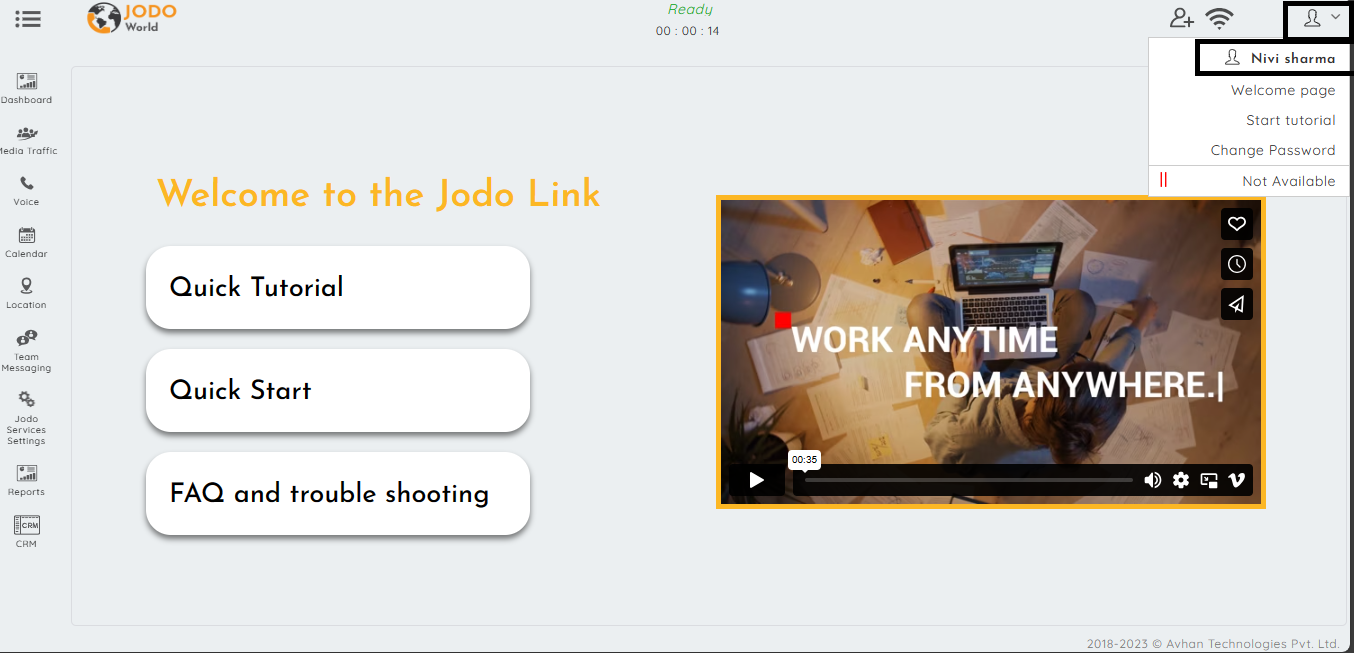
To edit “User Profile”, Click on User profile icon and then click on the User’s name on the welcome page.
When you click on the user profile icon, a new page will appear with several options. These options include uploading a profile image, editing your name, and accessing tabs labeled “About” and “Location”.
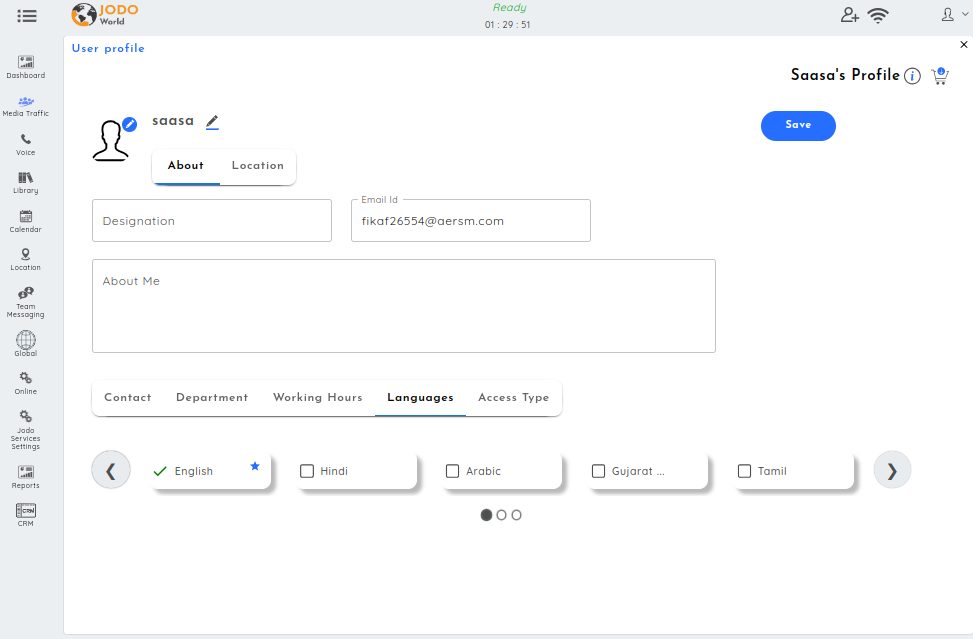
Additionally, there are input boxes where you can enter your designation, email address, and provide information about yourself.
In the “Departments” section, there are options available for selecting any department. You can add or edit department from company settings.
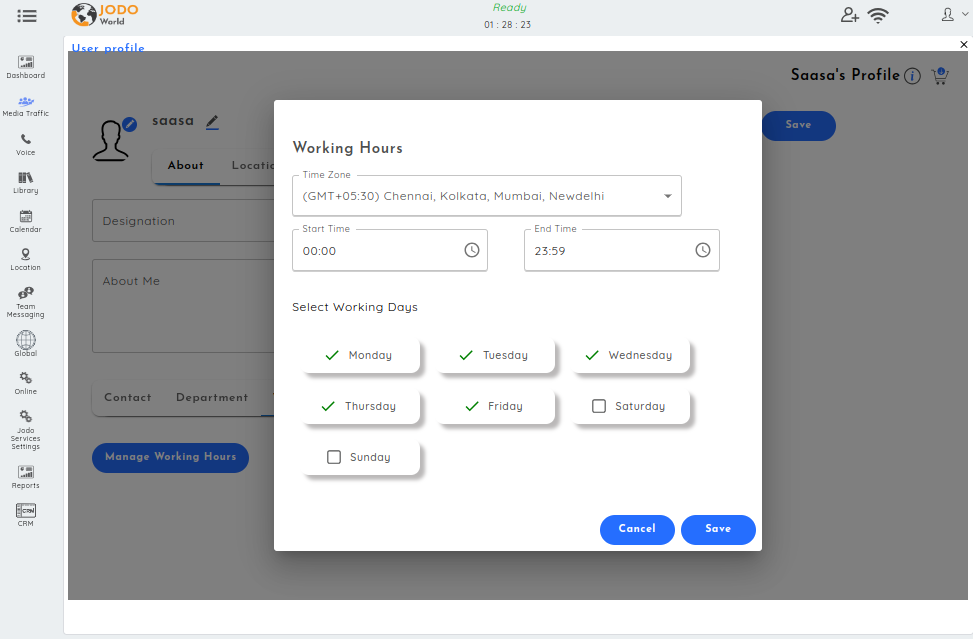
“Working Hours” section, you’ll find a button labelled “Manage Working Hours.” Clicking on this button will open a dialogue box where you can see several options, including Time Zone, Start Time, End Time, and checkboxes to select working days. After filling in the details, you can click the “Save” button to apply the changes. Additionally, there is a “Cancel” button to close the dialogue box without saving any changes.
In the “Languages” section, you can choose any language you prefer.
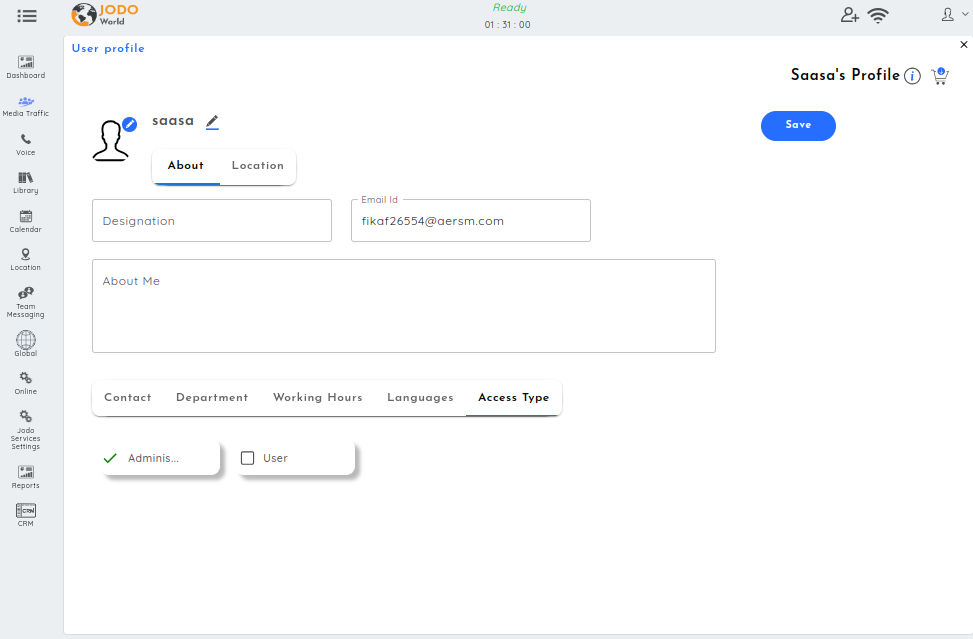
In the “Access Type” section, there is a checkbox with two options: “Administrator” and “User”.
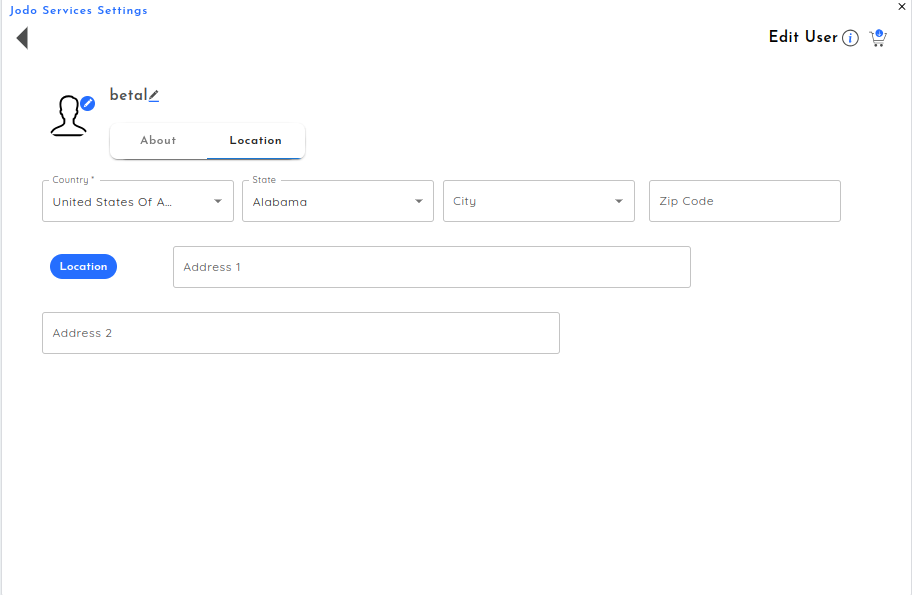
In the Location Section, users are provided with fields to input their details, including Country, State, City, Zip code, Address 1, and Address 2. Alongside these fields, there is a button labelled with the location name. Within this section, users have the ability to make changes to specific points. They can input their country name, state name, city name, zip code, Address 1 details, and Address 2 details. This allows for flexibility and customization according to the user’s location and address requirements.