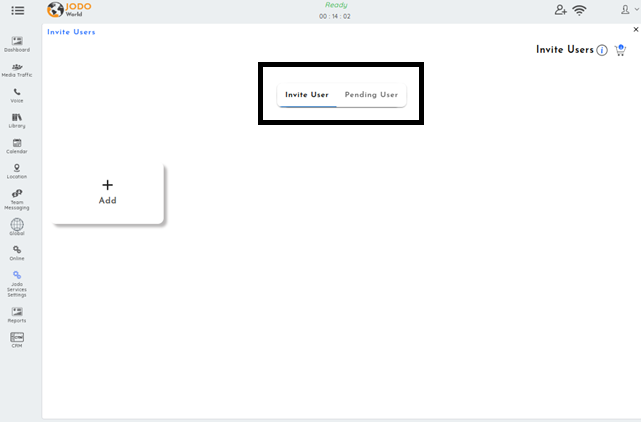
When a user logs into the Jodo toolbar, a welcome page appears on the screen, providing a friendly introduction to the platform’s features. At the top right corner of this welcome page, users will find an easily accessible icon labeled “Invite User.” Clicking on this icon initiates the process of inviting other individuals to join the platform. This straightforward approach ensures that users can quickly navigate the platform and begin inviting others to connect and collaborate effectively.
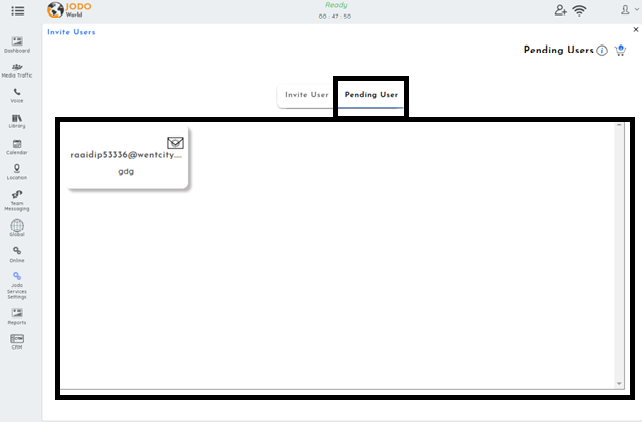
When you click on the “Invite User” icon, a new page will open with a navigation bar displaying two options: “Invite User” and “Pending User”.
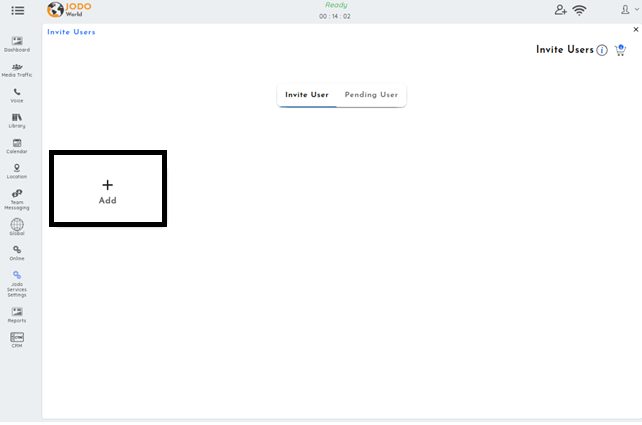
In the “Invite User” section, you’ll find an option labeled “Add icon Button” to add users.
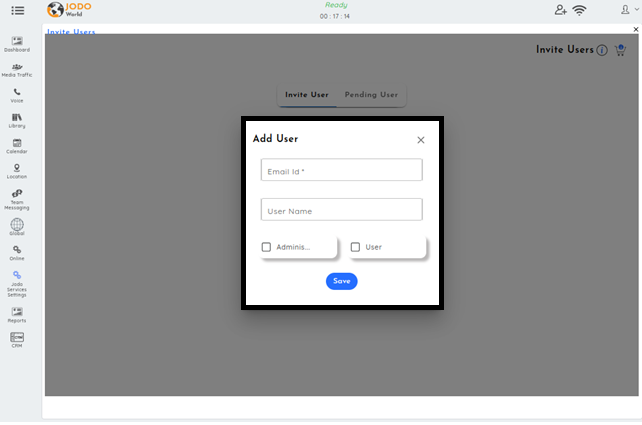
When you click on it, a dialogue box appears with fields for adding a user, including options for entering an email address and username. Additionally, there are two checkboxes labeled “Administrate” and “User.” Once you’ve filled in the necessary details, simply click the “Save” button to save the information.
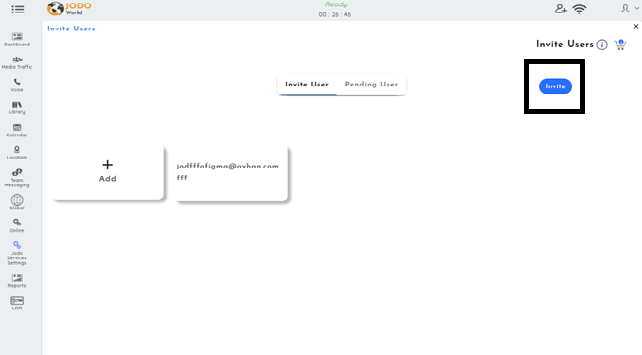
After saving, we can view the details of invited users in the “Invite User” tab. When we click on the “Invite User” button, the invitation will be sent.
After that, in the ‘Pending User’ tab, we can view a comprehensive list of invited users.